

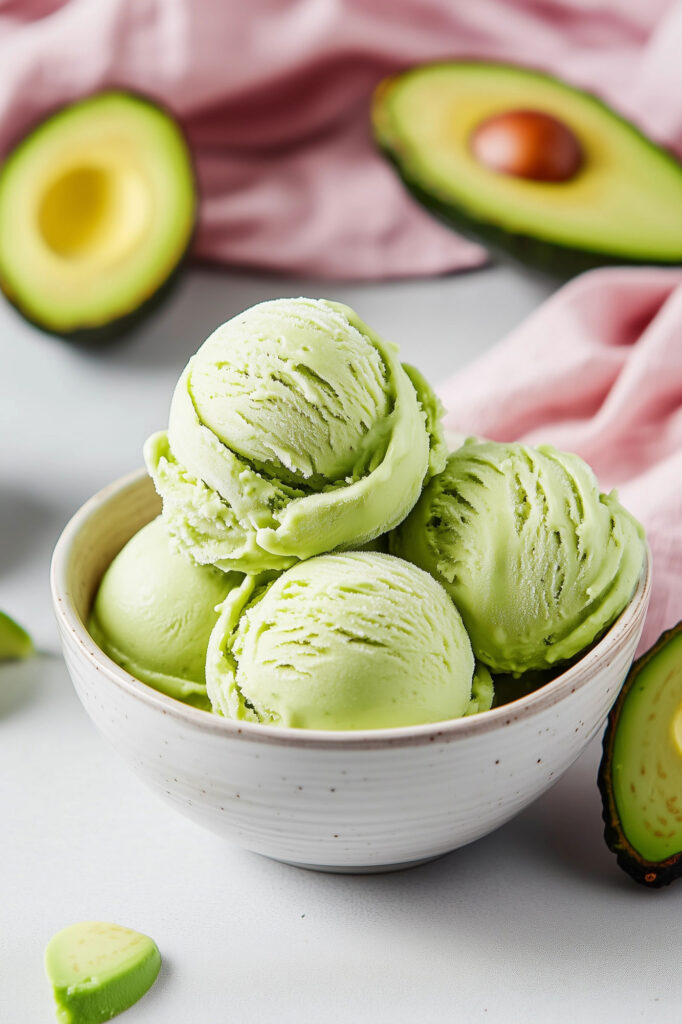
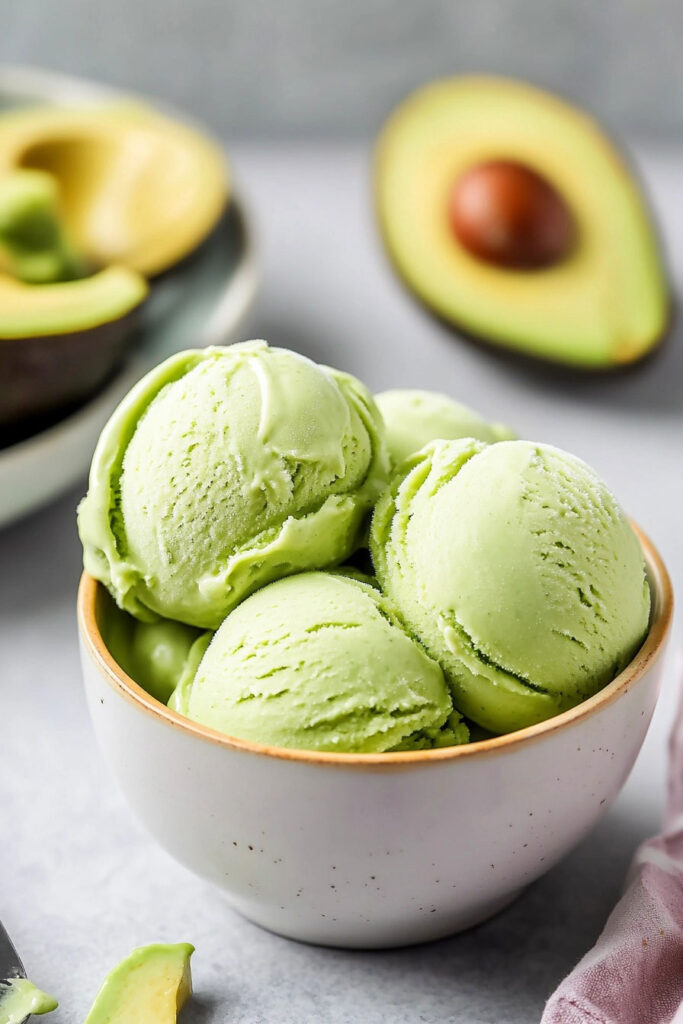
Ever tried avocado ice cream? It’s a creamy, sweet dessert that combines ripe avocados with sugar and honey for an indulgent yet surprisingly healthy treat. Believe it or not, this unique dessert has been around for a while—some say it dates back to the 1920s. Somerset Maugham, a British author, even claimed to have made it at his villa in the French Riviera.
Today, avocado ice cream has become a favorite for its smooth texture and refreshing taste. Want to make it yourself? Let’s dive in.
The Basics
Here’s a quick overview to get you started:
- Prep Time: 45 minutes
- Freezing Time: 3 hours
- Total Time: About 3 hours and 45 minutes
- Servings: Makes 8 servings
- Skill Level: Beginner-friendly (even if you’ve never made ice cream before!)
- Equipment: Blender or food processor, mixing bowl, ice cream maker (optional), and a freezer-safe container.
Don’t have an ice cream maker?
No problem. You can still make this recipe by freezing the mixture and stirring it occasionally.
Ingredients You’ll Need
Here’s your ingredient list for a batch of creamy avocado goodness:
- 3 ripe avocados (about 600g before removing pits)
- 1 cup whole milk
- ¾ cup sugar
- ¼ cup honey (or corn syrup)
- 2 teaspoons vanilla extract
- ½ teaspoon salt
- 2 cups heavy cream
Substitutions and Variations:
- Dairy-free? Swap whole milk with almond or coconut milk, and use coconut cream instead of heavy cream.
- Going vegan? Replace honey with maple syrup.
The key? Pick fresh, ripe avocados. They should feel slightly soft but not mushy when you press them.
Let’s Make It!
Follow these simple steps to whip up your homemade avocado ice cream:
Prep the Avocados
Slice your avocados in half, remove the pits, and scoop out the flesh. Toss it into your blender or food processor.
Blend the Base
Add the milk, sugar, honey (or corn syrup), vanilla, and salt to the blender. Blend everything until smooth and creamy. (Pro tip: The mixture should be a bright, vibrant green!)
Add the Cream
Pour the avocado mixture into a mixing bowl and whisk in the heavy cream. This step ensures your ice cream will be ultra-rich and creamy.
Churn (Optional)
If you’re using an ice cream maker, churn the mixture according to the manufacturer’s instructions. It usually takes about 25–45 minutes to thicken up.
Freeze
Transfer the mixture to a freezer-safe container. Cover it tightly (plastic wrap works great) and freeze for at least 3 hours.
Serve
Let the ice cream sit at room temperature for 5–10 minutes to soften before scooping. Serve in bowls, cones, or with your favorite toppings!
Customizations & Fun Ideas
Want to experiment? Here are some fun twists:
- Spice It Up: Add a pinch of cinnamon or cayenne for a unique flavor boost.
- Mix-ins: Stir in chocolate chips, crushed nuts, or even cookie crumbles before freezing.
- Seasonal Variations: Add fresh berries in summer or a dash of peppermint extract for a winter treat.
Serving & Storage Tips
- Perfect Pairings: Serve it with fresh fruit, a drizzle of chocolate syrup, or even alongside brownies!
- Storage: Keep leftovers in an airtight container in the freezer for up to 3 months. To avoid ice crystals, press a layer of plastic wrap directly onto the ice cream before sealing the container.
- Softening Tip: If your ice cream gets too hard, just let it sit at room temperature for 10–15 minutes before scooping.
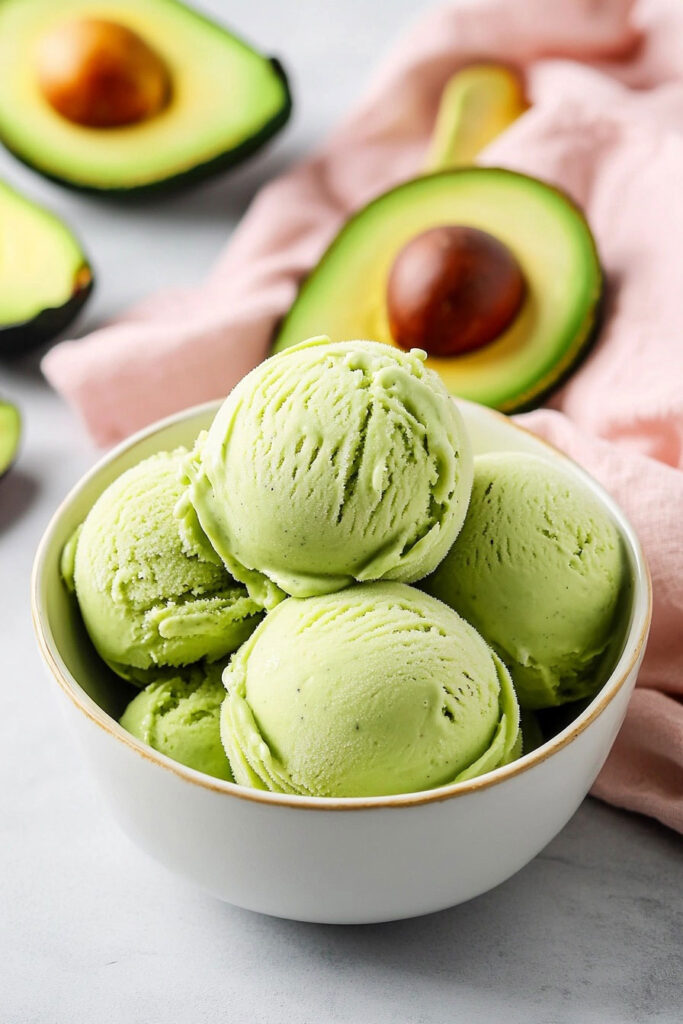
And there you have it! Homemade avocado ice cream that’s creamy, flavorful, and easy to make. Whether you’re an avocado enthusiast or just curious, give this a try—you might just discover your new favorite dessert.