
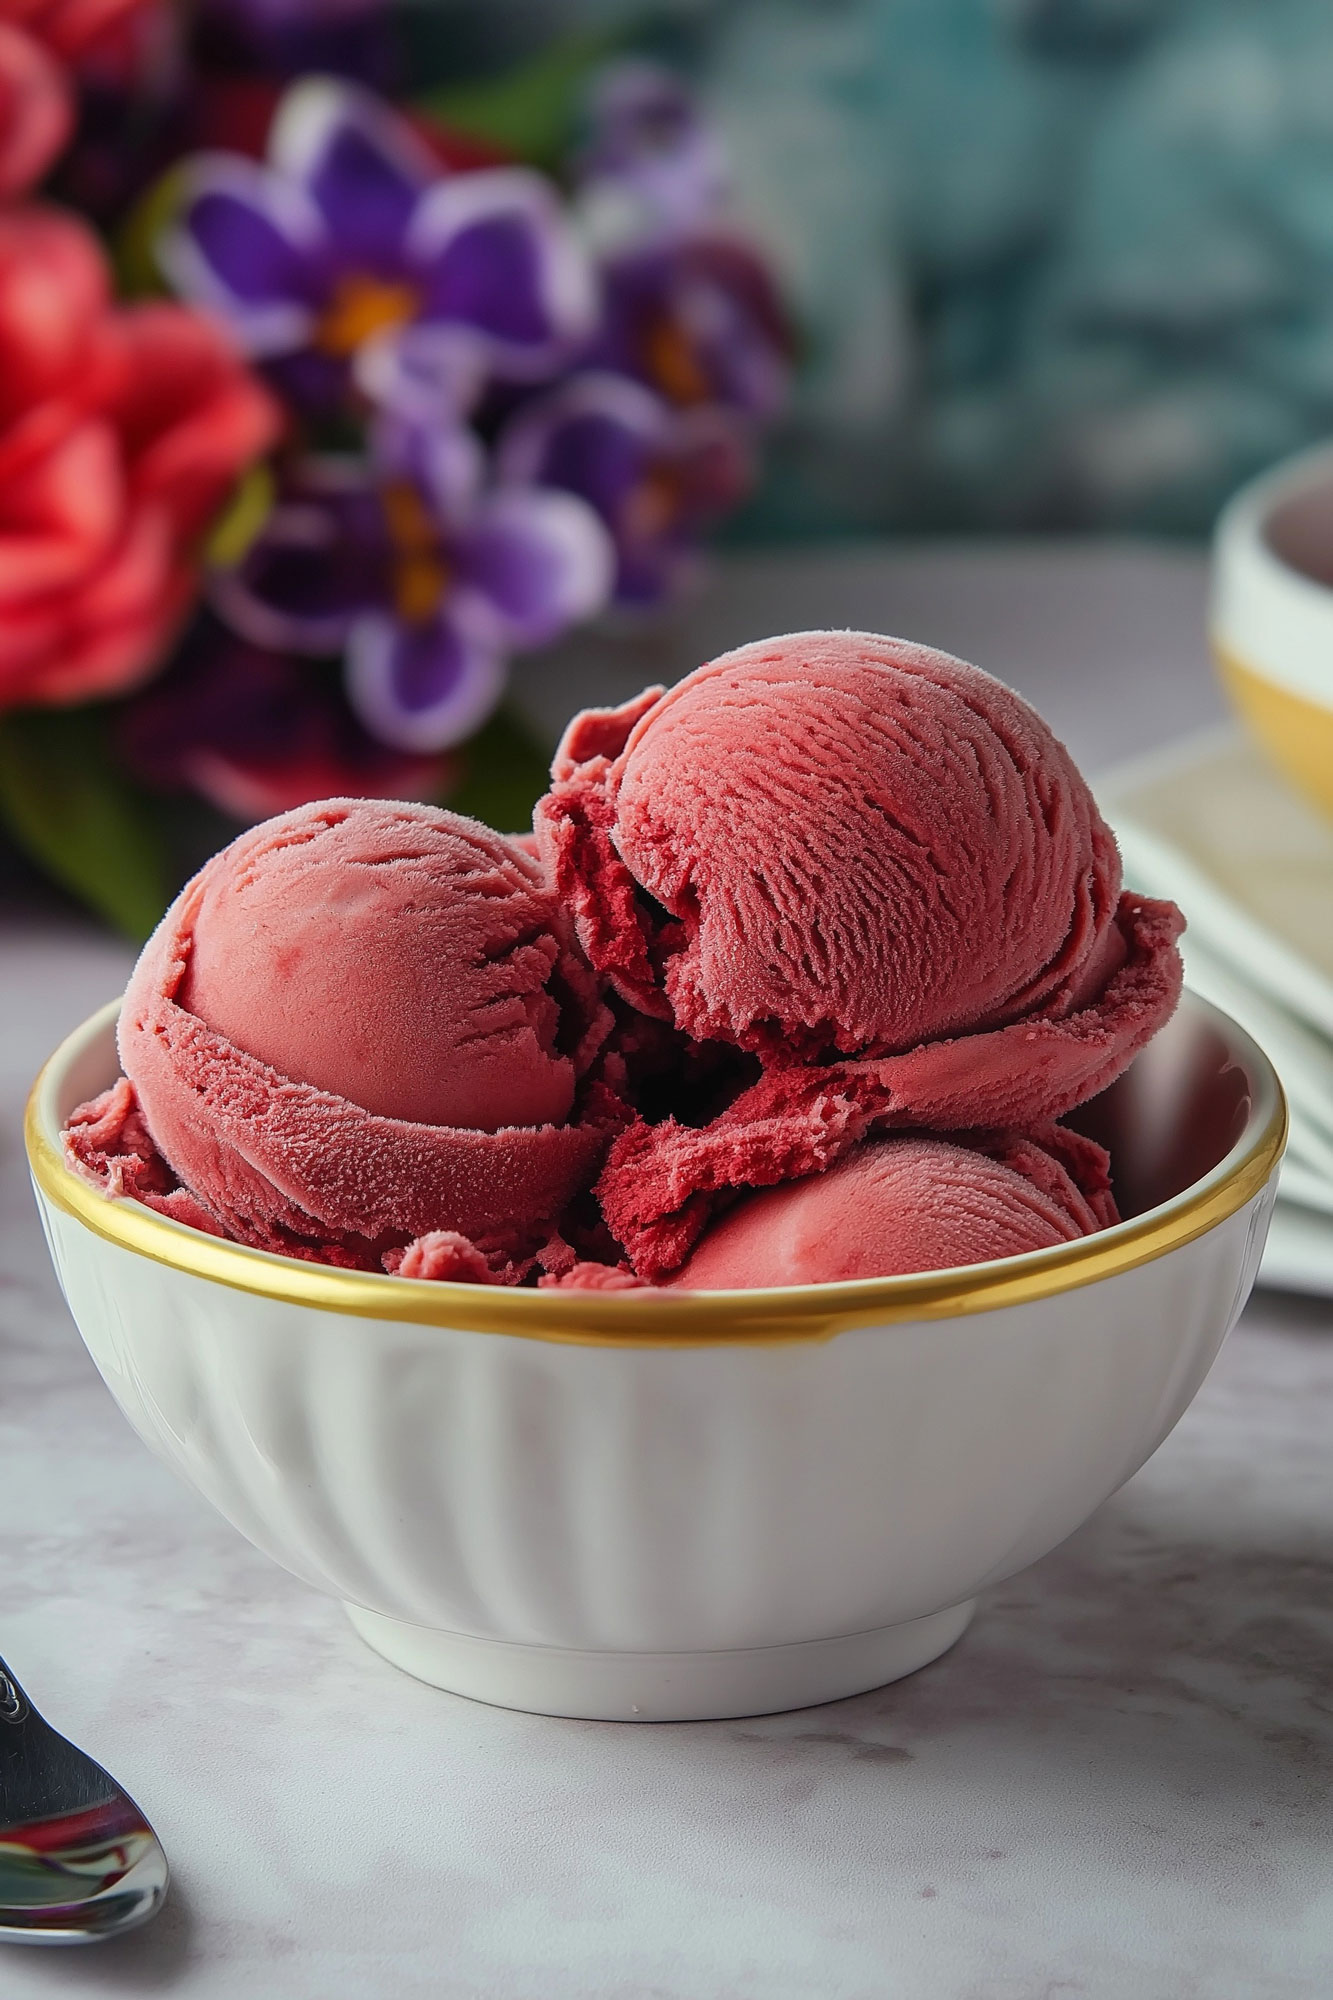
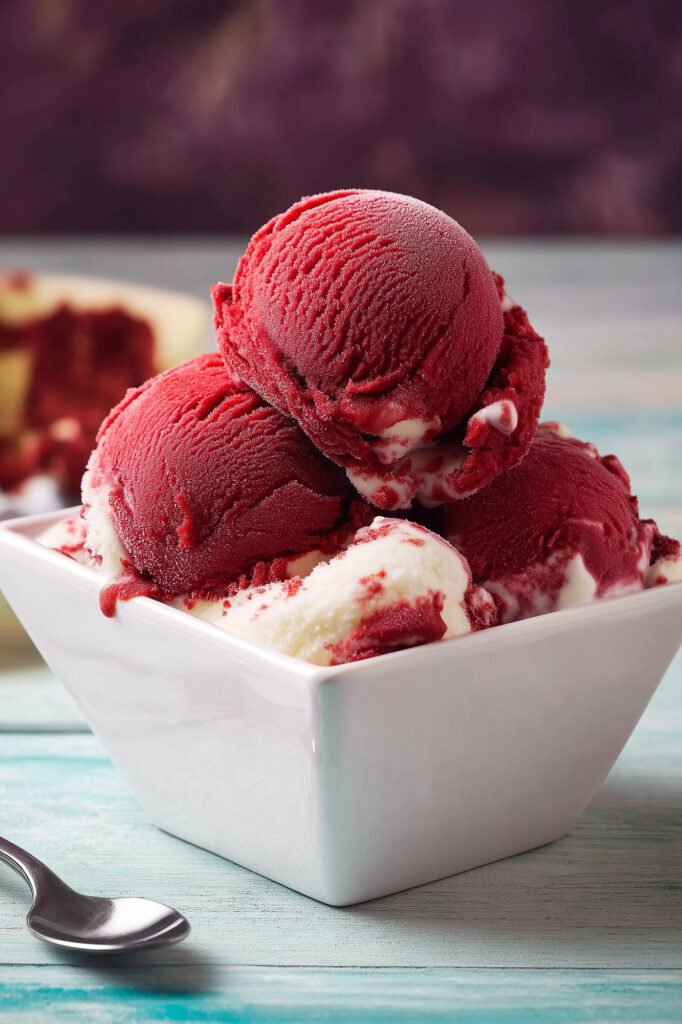
You know what’s better than red velvet cake? Turning it into ice cream. Yep, this dessert blends the tangy cocoa flavor of the classic cake with the creamy goodness of homemade ice cream. The result? A show-stopping treat that’s as tasty as it is stunning.
Fun fact: Red velvet cake’s origin goes all the way back to the Victorian era, when “velvet cakes” were known for their fine and smooth texture. Over time, red velvet became iconic, thanks to its deep color created by cocoa and food coloring. Today, the flavor has jumped from cakes to cookies—and yes, even ice cream. My take adds a swirl of cream cheese frosting to honor the original frosting we all know and love. Warning: This recipe is seriously indulgent.
What to Know Before You Start
Time Breakdown:
- Prep Time: 30 minutes
- Cook Time: 5 minutes
- Chill & Freeze Time: 4 hours
- Total: Just over 4½ hours (most of it waiting, promise!)
Servings:
This recipe makes 10 servings (about ⅔ cup each). Feeding a crowd? Double the recipe! Just be sure your ice cream maker can handle it.
Skill Level:
Intermediate. Nothing too wild here, but you’ll need an ice cream churner (or know how to work with a no-churn method). Some patience and attention to detail will go a long way.
Gear You’ll Need:
- Ice cream churner (or no-churn method substitute)
- Stand or hand mixer
- A saucepan
- Mixing bowls
- A container (for chilling the base)
The Ingredients
For the Ice Cream Base:
- 2 tsp tapioca starch (or cornstarch)
- 1 cup milk
- 2 cups heavy cream
- ½ cup sugar
- 1 tbsp cocoa powder (Dutch-process = deeper flavor)
- 1½ tsp vanilla extract
- 3 tsp red food coloring (adjust how vibrant you want it)
- ½ tbsp glucose syrup (or light corn syrup)
For the Cream Cheese Swirl:
- 4 oz cream cheese (softened)
- 2 tbsp lemon juice
- ½ tsp vanilla extract
- 1 cup powdered sugar (sifted)
- 2 tbsp milk
- 1 tsp glucose syrup
Quick Tip: Make sure your ingredients are at room temperature before mixing—this keeps things nice and smooth.
How to Make It
Step 1: Prep the Ice Cream Base
- Tapioca Slurry: Mix the tapioca starch with 2 tbsp of milk until it’s smooth—this helps thicken the base later.
- Heat the Base: In a saucepan, combine the rest of the milk, cream, sugar, vanilla, cocoa powder, food coloring, and glucose syrup. Heat gently on medium-low. Got clumps of cocoa? Hit it with an immersion blender.
- Thicken It Up: Stir in the tapioca slurry and keep heating until the mixture’s just at a simmer. (Stir a lot—no one likes burnt ice cream!).
- Cool It: Pour it into a heat-proof container. Let it come to room temp, then pop it in the fridge for at least 4 hours (overnight’s even better).
Step 2: Make the Cream Cheese Swirl
- Cream It: Beat the softened cream cheese with lemon juice and vanilla until smooth.
- Add Sugar: Slowly sift in the powdered sugar while mixing.
- Smooth It Out: Heat the milk and glucose in a saucepan until dissolved, then slowly mix it into the cream cheese. The goal? A silky, dreamy frosting-like swirl.
- Chill: Pop it in the fridge until you’re ready to use.
Step 3: Churn and Assemble
- Chill Your Tools: Freeze your ice cream container before starting. If your ice cream maker has a pre-cool setting, use it!
- Churn Away: Pour the chilled ice cream base into the churner and let it do its magic. Aim for a soft-serve consistency.
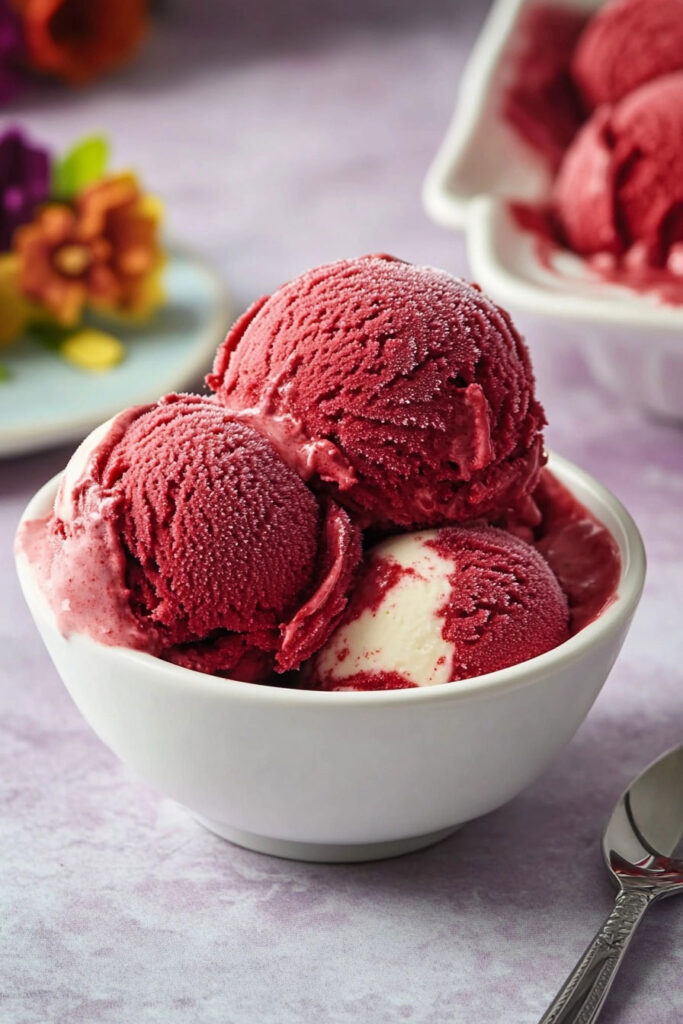
- Swirl It Together: In your chilled container, layer the ice cream with dollops of the cream cheese swirl. Use a knife to gently marble it together—don’t overdo it!
- Freeze: Cover tightly and let it freeze for at least 4 hours until firm.
Mix It Up
Looking to customize? Try these fun ideas:
- Add Cake Chunks: Layer in small pieces of red velvet cake for a real cake-and-ice-cream combo.
- Go Spicy: Sprinkle in a pinch of cinnamon or cayenne for a flavor twist.
- Holiday Vibes: Swap the red food coloring for green during Christmas—or skip it entirely for a classic cocoa look.
How to Serve & Store
- Serving Ideas: Scoop into pretty bowls or waffle cones. Add crumbled cookies or a drizzle of white chocolate for extra flair.
- Storage: Keep it in an airtight container in the freezer for up to two weeks.
- Softening Tip: Let it sit at room temp for 5 minutes before scooping if it’s too firm.
- Make Ahead: You can make the base and cream cheese swirl a day in advance. Just keep them separately chilled until you’re ready to churn.
This isn’t just dessert—it’s an experience. Red velvet ice cream is perfect for parties, date nights, or just treating yourself. And with that tangy cream cheese swirl? Trust me, it’s worth every minute of waiting.
Enjoy every bite!
PrintRed Velvet Ice Cream

This Red Velvet Ice Cream is a luscious blend of creamy vanilla, a hint of cocoa, and vibrant red hues, swirled with tangy cream cheese frosting. Inspired by the classic red velvet cake, this dessert is perfect for special occasions or as a decadent treat any time of year.
- Prep Time: 30 minutes
- Cook Time: 5 minutes
- Total Time: 4 hours 35 minutes (includes chilling & freezing time)
- Yield: 10 (⅔ cup each) 1x
- Category: Dessert
- Cuisine: American
Ingredients
Ice Cream Base:
- 2 tsp (5g) tapioca starch (or cornstarch/arrowroot powder)
- 1 cup (250ml) milk
- 2 cups (500ml) thickened cream (heavy cream)
- ½ cup (110g) white sugar
- 1 tbsp natural cocoa powder (Dutch-process recommended)
- 1½ tsp vanilla extract
- 3 tsp red food coloring (adjust for desired intensity)
- ½ tbsp (15g) glucose syrup (or light corn syrup)
Cream Cheese Frosting Swirl:
- 1 tub (225g/4 oz) full-fat cream cheese, softened
- 2 tbsp fresh lemon juice
- ½ tsp vanilla extract
- 1 cup (160g) powdered sugar, sifted
- 2 tbsp milk
- 1 tsp (5g) glucose syrup
Instructions
- Prepare the Ice Cream Base:
In a small bowl, mix tapioca starch with two tablespoons of milk to create a slurry. In a saucepan, combine the remaining milk, cream, sugar, cocoa powder, vanilla extract, red food coloring, and glucose syrup. Heat gently over medium-low heat until warm. Stir frequently to dissolve the sugar and blend the cocoa powder. Add the tapioca slurry and cook until the mixture just begins to simmer. Remove from heat, cool to room temperature, then refrigerate for at least four hours or overnight. - Make the Cream Cheese Swirl:
Beat softened cream cheese with lemon juice and vanilla extract until smooth. Gradually add sifted powdered sugar and mix well. In a small saucepan, heat milk and glucose syrup until dissolved. Slowly incorporate this into the cream cheese mixture while beating until silky. Chill in the fridge until ready to assemble. - Churn the Ice Cream:
If using an ice cream maker, pre-chill your storage container in the freezer and prepare your churner according to manufacturer instructions. Pour the chilled ice cream base into the churner and churn until it reaches a soft-serve consistency. - Assemble and Freeze:
Layer churned ice cream and dollops of cream cheese swirl in your chilled container. Use a knife to gently swirl them together for a marbled effect. Cover tightly and freeze for at least four hours or until firm. - Serve and Enjoy:
Let the ice cream sit at room temperature for about five minutes before scooping for easier serving.
Notes
Serving Suggestions: Serve in waffle cones or dessert bowls with crushed cookies or white chocolate shavings for garnish. Pair with fresh berries for added freshness.
Tips & Tricks:
- Use high-quality cocoa powder for a richer flavor.
- Ensure all ingredients are at room temperature before mixing to avoid lumps.
- Chill your ice cream maker bowl overnight if it’s not self-churning.
Storage & Reheating: Store in an airtight container in the freezer for up to two weeks. Allow it to soften slightly at room temperature before serving—do not microwave.