

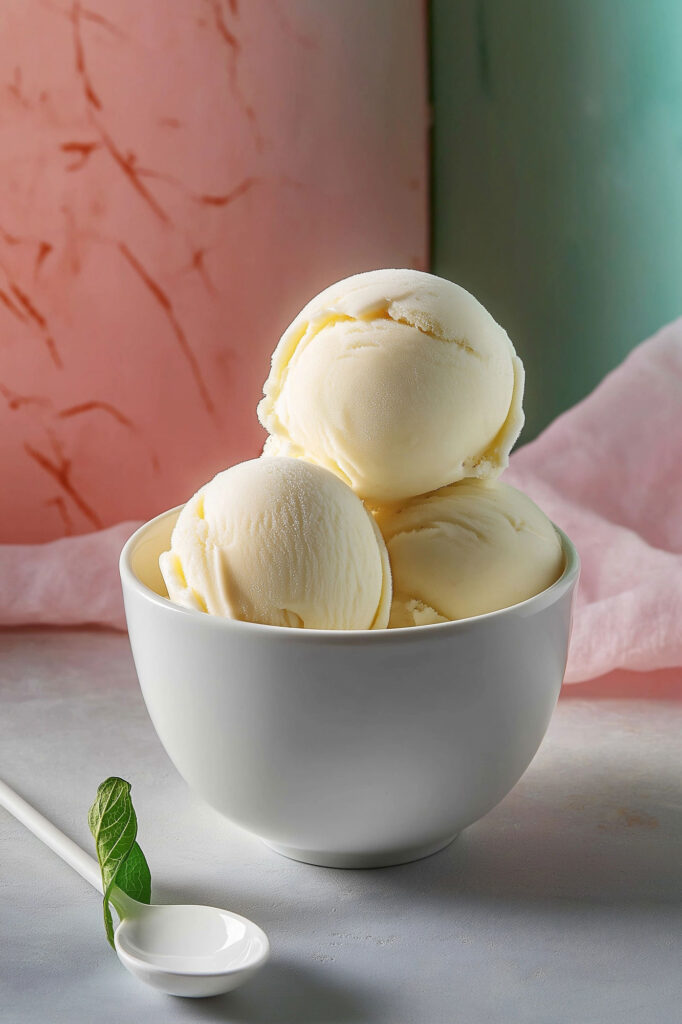
There’s nothing quite like making your own ice cream at home—the creamy texture, the fresh flavors, and that amazing feeling of creating something delicious from scratch. And the best part? You can enjoy it guilt-free! This sugar-free ice cream is perfect if you’re cutting back on sugar or following a keto or low-carb lifestyle. It’s light, creamy, and super customizable. Whether you’re planning a backyard barbecue or just craving a sweet treat for a lazy evening at home, this recipe has you covered.
Let’s dive in!
Quick Recipe Snapshot
- Prep Time: 5 minutes
- Cook Time: 1 minute
- Total Time: 6 minutes + freezing
- Servings: 8 (but you can easily scale up or down)
- Difficulty: Easy (No ice cream maker needed!)
What You’ll Need
Tools:
- Hand mixer or stand mixer
- Two mixing bowls
- A loaf pan or freezer-safe container
- Spatula
Ingredients:
- 2 (15 oz) cans of full-fat coconut milk (chilled overnight for the best results)
- 2 cups of heavy cream (sub coconut cream for a dairy-free option)
- 1/4 cup powdered sugar-free sweetener (like erythritol, Stevia, or allulose)
- 2 teaspoons vodka (optional, for a creamier texture)
- 1 teaspoon vanilla extract (for a pop of flavor)
How to Make It

Step 1: Chill Your Pan
Start by placing your loaf pan or container in the freezer. This helps your ice cream cool evenly later.
Step 2: Whip the Coconut Cream
Grab your chilled coconut milk cans. Scoop out the solid cream into a mixing bowl, leaving the liquid behind. Beat it with your mixer for around 2 minutes until it’s smooth and fluffy.
Step 3: Whip the Heavy Cream
In another bowl, combine your heavy cream and powdered sweetener. Add the vodka and vanilla if you’re using them. Whip it until you see soft peaks—this should take about 3–4 minutes. Be careful not to overwhip, or you might end up with butter instead of cream!
Step 4: Combine the Mixtures
Now, gently fold the coconut cream into the whipped heavy cream. Use a spatula and soft, circular motions to keep the mixture light and airy.
Step 5: Freeze
Pour the mixture into your chilled pan. Smooth the top with your spatula, then cover it tightly with foil or plastic wrap to keep ice crystals from forming. Pop it in the freezer for at least two hours.
Step 6: Serve and Enjoy!
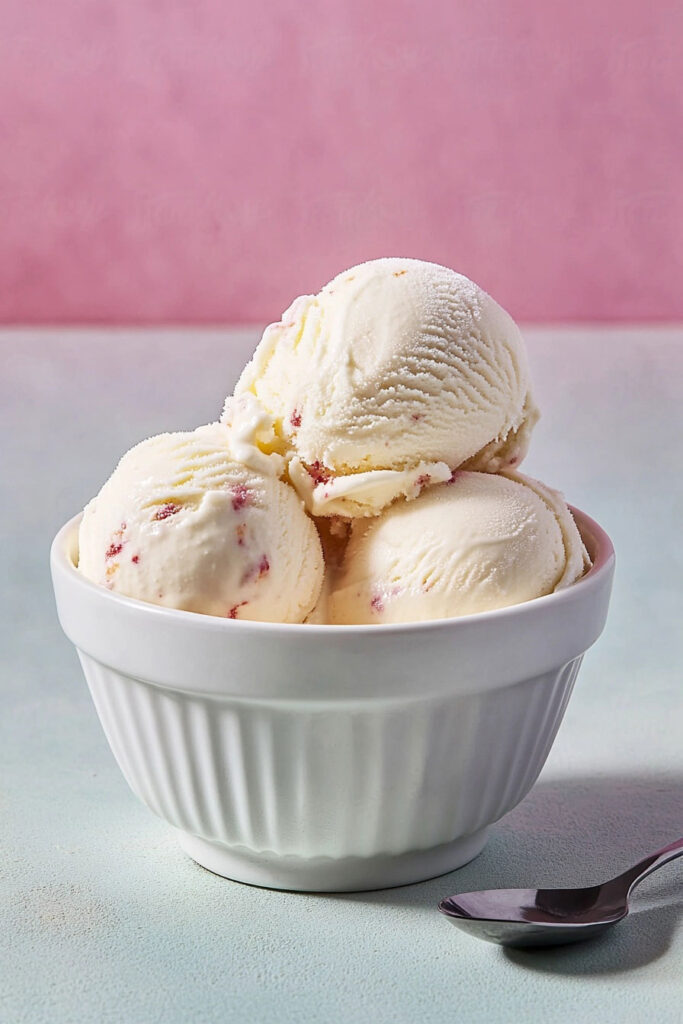
When you’re ready to serve, let the ice cream sit out for 10–15 minutes to soften slightly. Run your scoop under warm water to get those Instagram-worthy scoops!
Pro Tips and Customizations
One of the best things about this recipe? You can switch it up however you like.
Flavor Ideas:
- Chocolate Lover’s Dream: Add cocoa powder or swirl in some sugar-free chocolate chips.
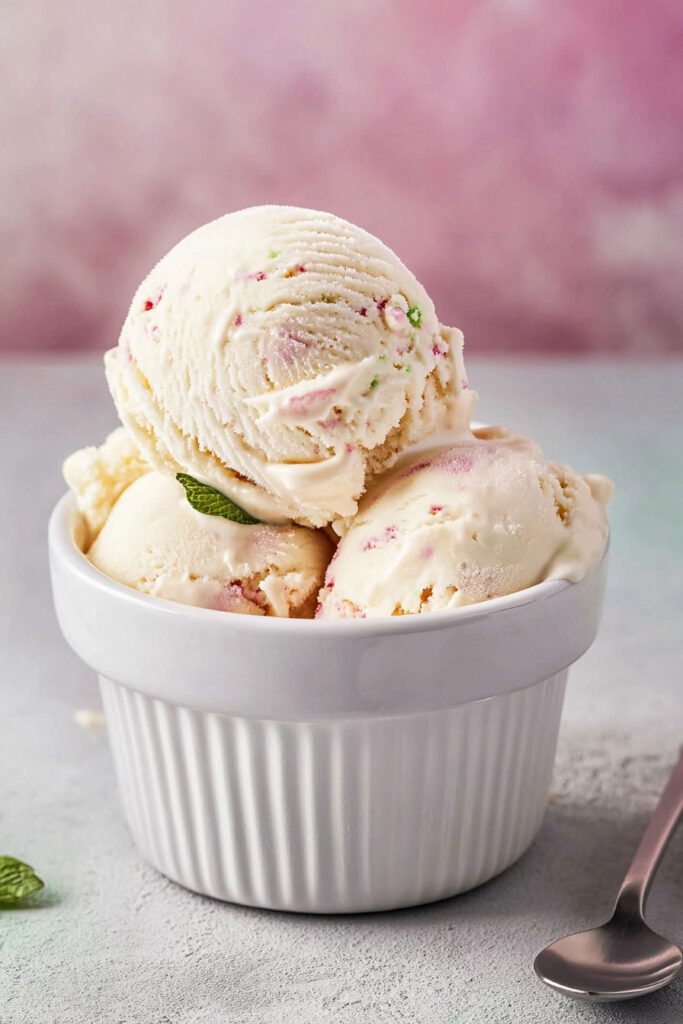
- Fruity Twist: Blend in fresh strawberries, blueberries, or mango before whipping.
- Mint Chocolate Chip: Add a splash of peppermint extract and fold in sugar-free chocolate chips.
Special Diets? No Problem:
- Vegan-Friendly: Use coconut cream instead of heavy cream. Stick to plant-based sweeteners.
- Keto-Approved: Low-carb sweeteners like Stevia or erythritol are your best bet.
Storage Tips
- How Long Can I Keep This? Store it in an airtight container for up to a week. To prevent freezer burn, press plastic wrap directly onto the surface before sealing.
- Too Hard to Scoop? Let your ice cream sit at room temperature for 10–15 minutes. This softens it up just enough for creamy, scoopy perfection.

Why You’ll Love This Recipe
This sugar-free ice cream takes just minutes to prep, and the flavor possibilities are endless. Whether you’re sharing it with friends or sneaking a spoonful late at night, you’ll love the rich, creamy texture and the fact that it’s made with simple, wholesome ingredients.
Ready to get started? Grab your chilled coconut milk and let’s make something amazing!