

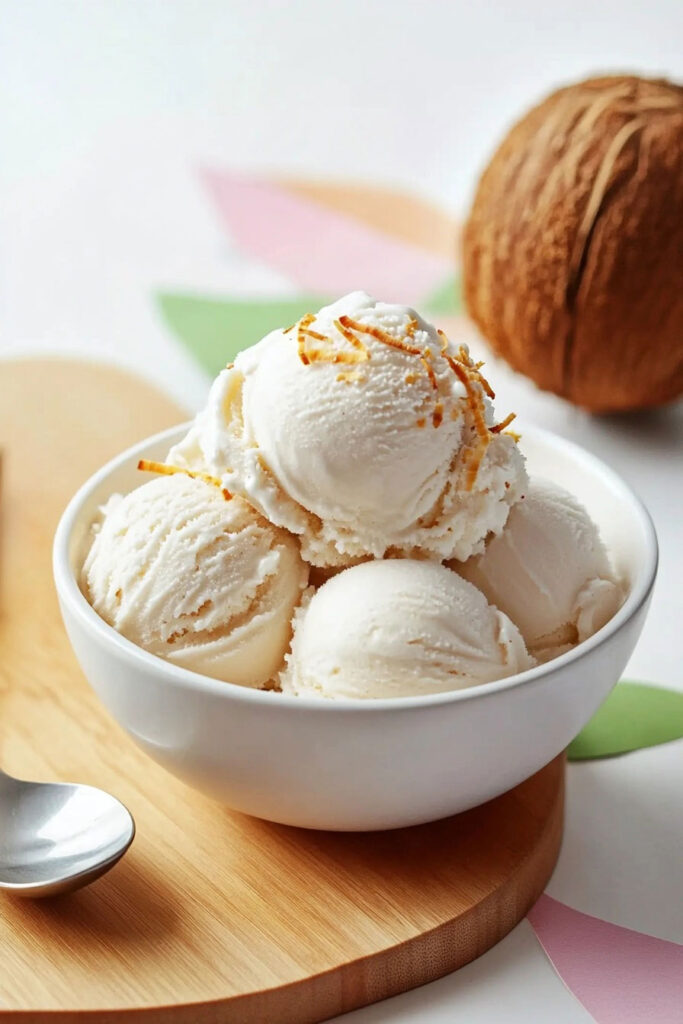
Coconut milk ice cream is a smooth, dairy-free treat with a taste of the tropics. It’s creamy, lightly sweet, and perfect for anyone—whether you’re vegan, lactose-intolerant, or just looking for something refreshing. This recipe draws inspiration from traditional tropical desserts but keeps things simple, so you can make it right at home.
Quick Recipe Details
Prep & Freeze Times
- Prep Time: 15 minutes
- Freeze Time: 4 hours 20 minutes
- Total Time: 4 hours 35 minutes
Servings
This recipe makes about 6 servings—just enough for a cozy gathering or a few days of indulging! Need more? Double or triple the ingredients, but make sure your ice cream maker can handle it.
Skill Level
Beginner-friendly! With just a few ingredients and easy instructions, you’ll nail this even if it’s your first try.
What You’ll Need
Equipment:
- Ice cream maker (freeze the bowl overnight, if required)
- Small saucepan
- Whisk
- Shallow container for chilling
- Freezer-safe container (like a pint-sized one)
No Ice Cream Maker? No problem. Use a loaf pan instead and stir the mixture hourly for the first 3 hours.
Ingredients
Here’s what you’ll need:
- 2 cans (15 oz each) full-fat coconut milk (divided)
- ½ cup sugar
- 1½ tablespoons cornstarch
- ¼ teaspoon salt
- 2 teaspoons vanilla extract
Tips & Substitutes:
- Swap sugar for coconut sugar (for a caramel vibe) or maple syrup (for natural sweetness).
- No vanilla extract? Almond extract or a dash of cinnamon works too.
- Stick to full-fat coconut milk for that creamy texture. Low-fat versions might turn icy.
Let’s Make It!
Step 1: Prep the Base
- Freeze Equipment: Pop your ice cream maker bowl in the freezer the night before.
- Mix Ingredients: Set aside ½ cup of coconut milk. Heat the rest with sugar and salt in a saucepan over medium heat. Stir until the sugar dissolves, then add vanilla extract.
- Thicken It Up: Whisk cornstarch into the reserved coconut milk to make a slurry. Pour this into the saucepan, stirring constantly. Bring it to a gentle boil and cook for about 5 minutes, until it thickens.
Step 2: Chill & Churn
- Cool Down: Pour the mixture into a shallow container, cover it, and chill in the fridge for at least 4 hours (or overnight).
- Churn Away: Pour the chilled base into your ice cream maker and churn for 20–25 minutes, or until it’s nice and creamy.
Step 3: Freeze to Set
- Firm It Up: Scoop the churned ice cream into a freezer-safe container and freeze for 2–4 hours until it’s firm.
Make It Your Own
Add-Ins:
- Mix in toasted coconut flakes or chocolate chips during churning.
- Swirl in fruity goodness—think mango or raspberry puree—before freezing.
Flavors for Seasons:
- Summer: Pair with tropical fruits like pineapple.
- Winter: Add warm spices like nutmeg or cardamom for a cozier vibe.
How to Serve & Store
Serving:
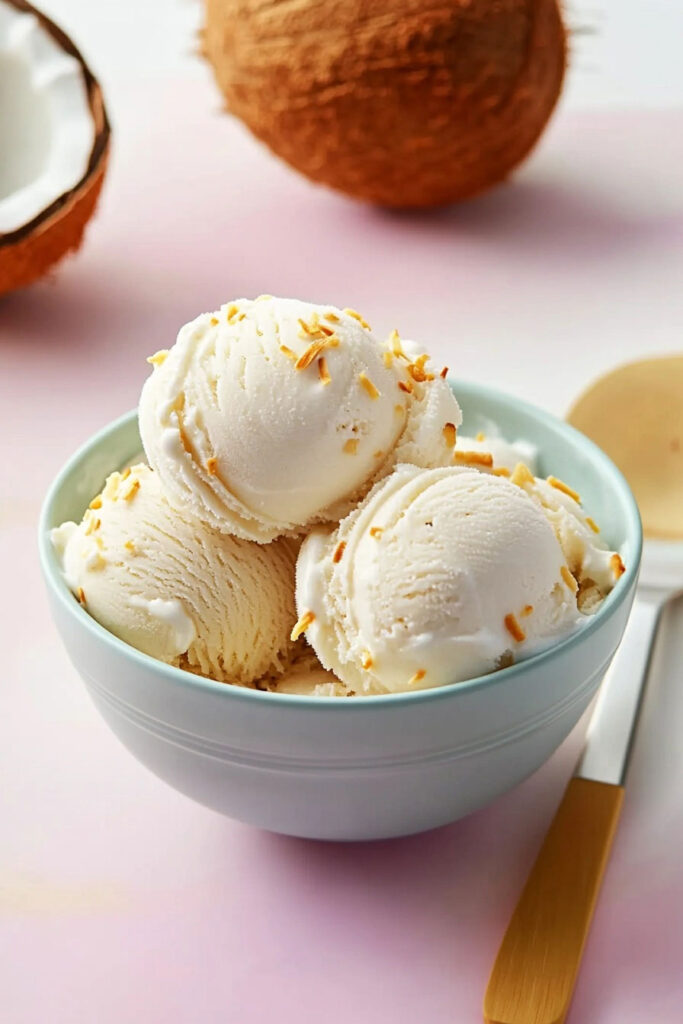
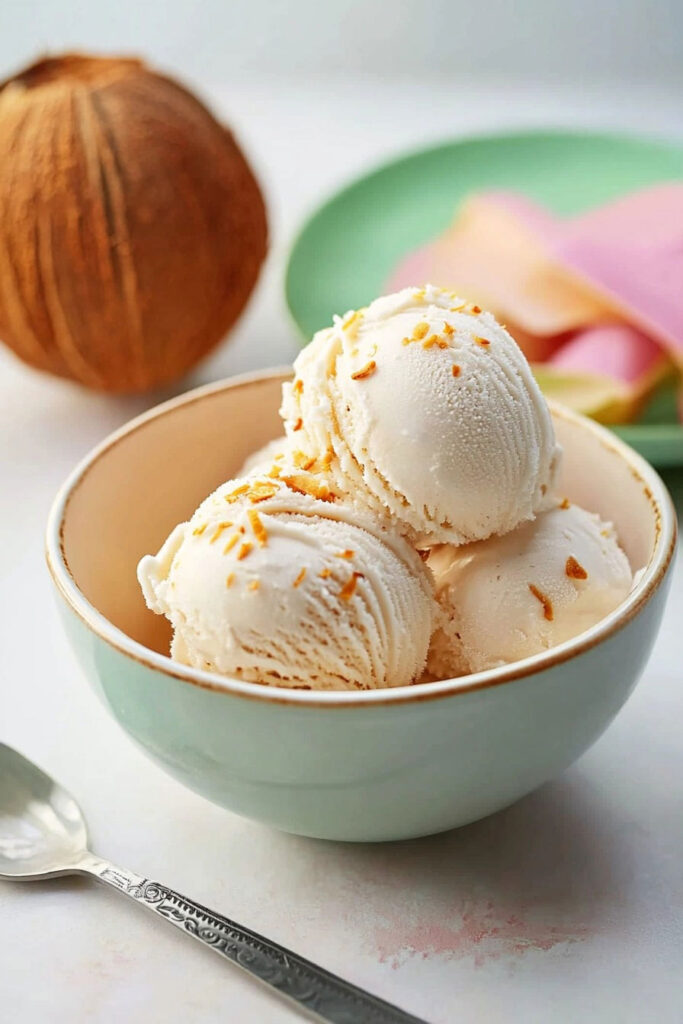
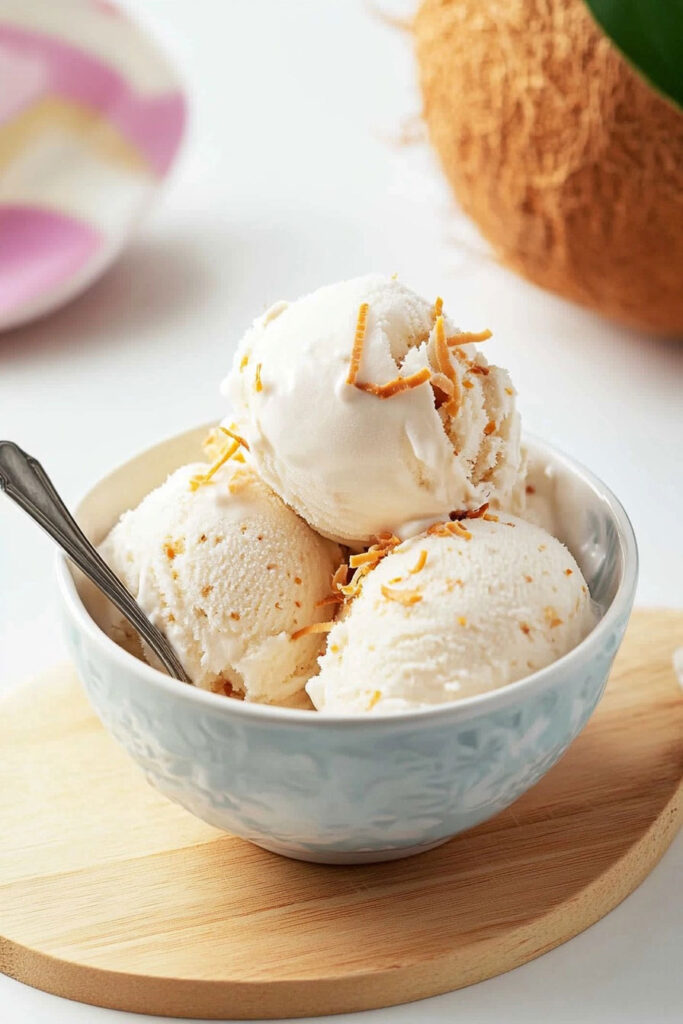
Scoop it into bowls and top with toasted coconut or fresh fruit. Want to get fancy? Drizzle chocolate syrup or caramel sauce on top.
Storage:
Store leftovers in an airtight container in the freezer for up to two weeks. To avoid freezer burn, press a sheet of plastic wrap directly onto the surface.
Scooping Tip:
Let the ice cream sit at room temperature for 5–10 minutes before scooping for that perfect texture.
Making coconut milk ice cream at home is easier than it looks—and it’s so worth it! Whether you’re after a dairy-free dessert or just love the tropical twist, this recipe will quickly become a go-to. Enjoy every refreshing bite!