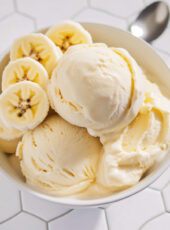
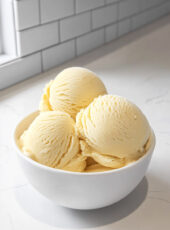
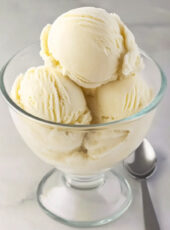
Homemade ice cream is something special, right? And when it’s made with bananas, that natural sweetness takes it to the next level. This Banana Sweet Cream Ice Cream is smooth, creamy, and ridiculously easy to make. Even better? You only need a few simple ingredients.
We’re using the Ninja Creami, a machine that makes ice cream making so much easier. If you’re new to it, don’t worry—it’s super beginner-friendly. Have some ripe bananas on hand? Let’s turn them into a dreamy dessert you’ll want to make again and again.
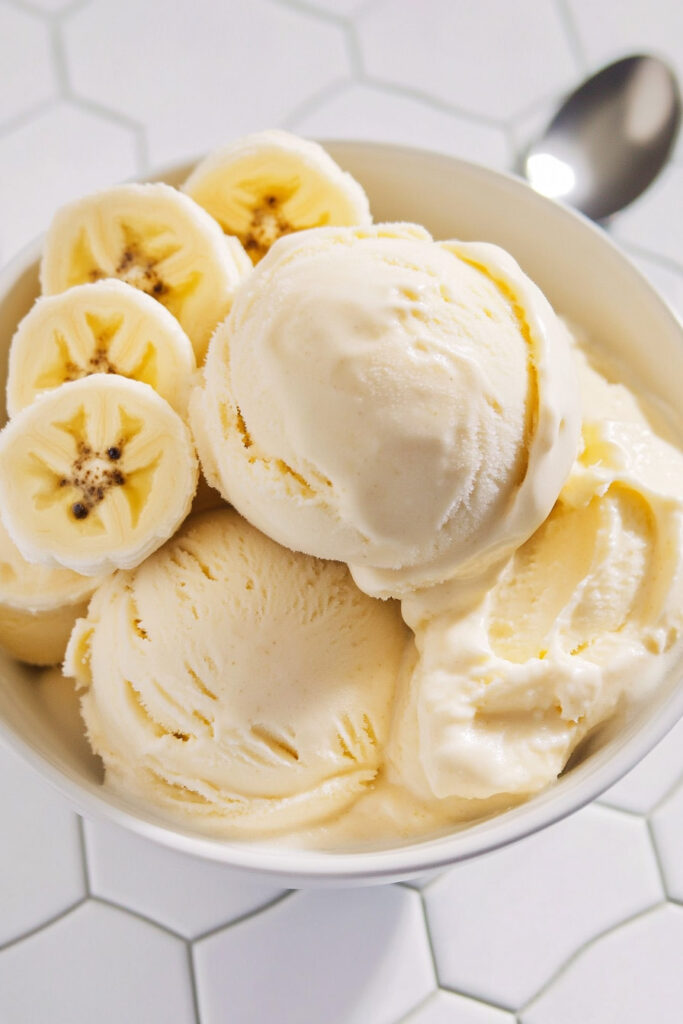
Quick Recipe Facts
What You’ll Need Time-Wise
- Prep Time: 5 minutes
- Freeze Time: 24 hours
- Process Time: 2–3 minutes
Yes, it takes a full day to freeze, but the hands-on time? Barely 10 minutes.
Servings
This recipe makes about 1 pint of ice cream—perfect for 2 to 3 servings. Got a crowd? Just double the recipe and freeze each batch separately.
Skill Level
Beginner. Really—it’s hard to mess this up.
Equipment
Here’s what you’ll need:
- Ninja Creami (the star of the show)
- A pint container for freezing
- A blender (or even just a fork, if you like keeping things simple)
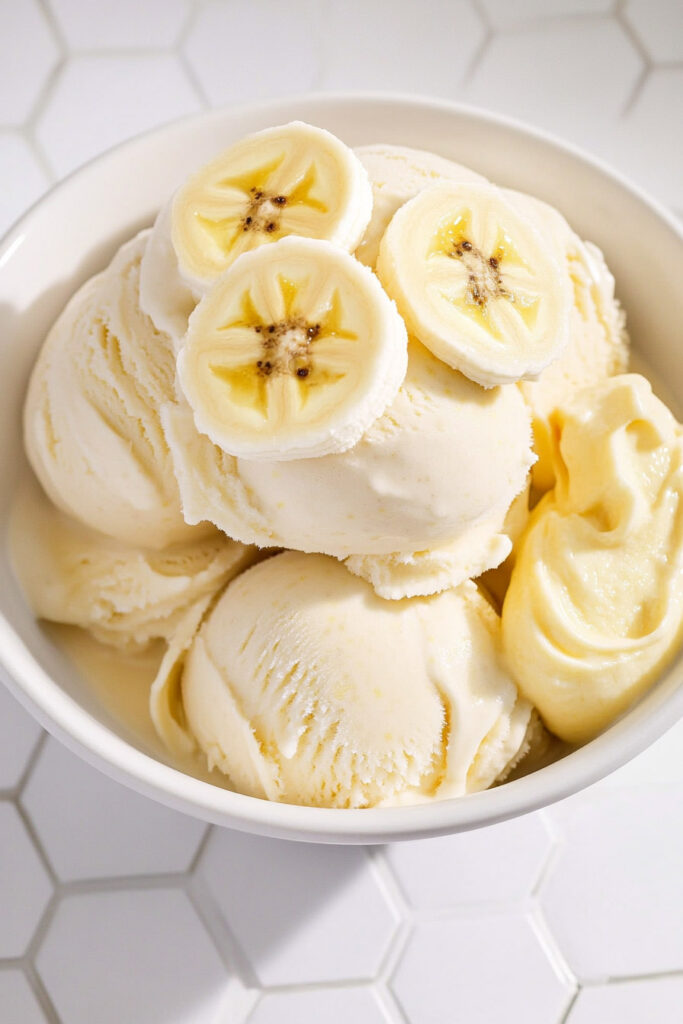
Ingredients at a Glance
For the base:
- 2–3 ripe bananas, sliced (ripe ones are sweeter and creamier)
- ½ cup whole milk (or your favorite milk alternative)
- ½ cup sweet cream coffee creamer (or heavy cream, or even non-dairy creamer)
- 1 tsp vanilla bean paste (or regular vanilla extract works too)
Optional:
- 1 tbsp milk (handy if you need to adjust the texture after processing)
Easy Swaps
- Dairy-free? Use almond or coconut milk and a non-dairy creamer.
- Want extra flavor? Add a spoon of peanut butter, a sprinkle of cinnamon, or even a dash of cocoa powder.
Step-by-Step Instructions
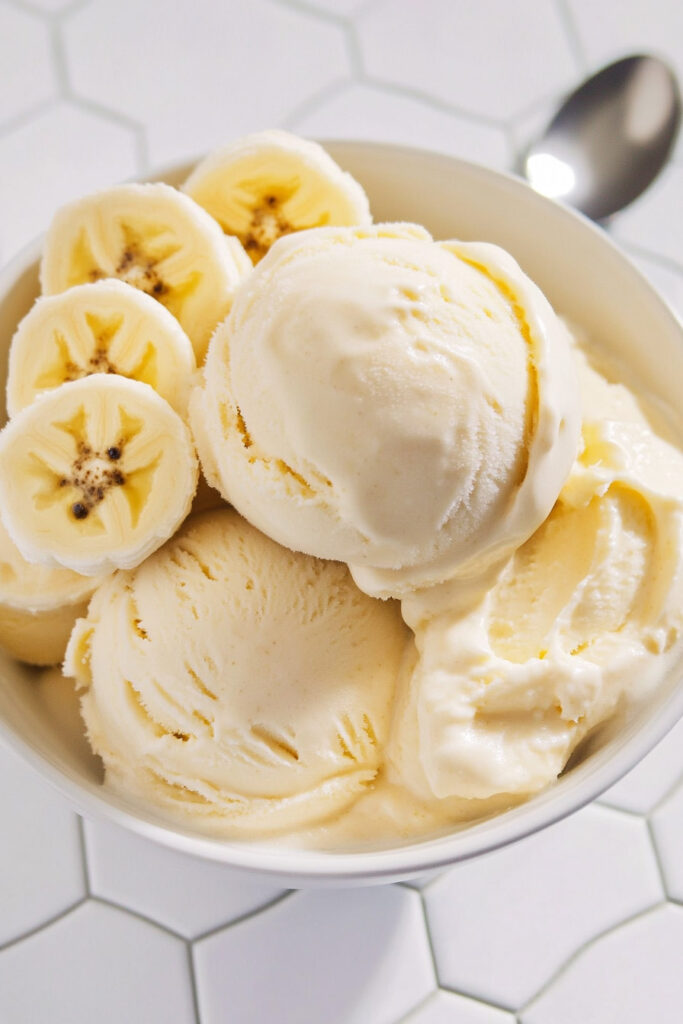
Step 1: Make the Mix
Start by peeling and slicing the bananas into small chunks. The riper they are, the sweeter and creamier your ice cream will turn out. Next, grab a blender or an immersion blender and combine the banana slices with milk, sweet cream coffee creamer, and vanilla bean paste. Blend the ingredients for just a few seconds—long enough to create a creamy, smoothie-like mixture. You don’t want any banana chunks left, but the texture shouldn’t be overly runny.
Step 2: Freeze It
Once the mix is ready, pour it into your Ninja Creami pint container. Be careful not to go past the max fill line, as overfilling can mess with the freezing and processing later. Use a spoon or spatula to smooth out the surface to avoid any air pockets. Now comes the hard part—waiting. Cover the container with its lid and place it flat in the freezer. Let it freeze for at least 24 hours. This ensures the mixture is solid and ready for the Ninja Creami to work its magic.
Step 3: Turn It into Ice Cream
After 24 hours, your mixture is frozen and ready to transform. Take the pint container out of the freezer, remove the lid, and place it inside the outer bowl of the Ninja Creami. Lock it into the machine, select the “Ice Cream” function, and let it do its thing. In just 2–3 minutes, the Ninja Creami whirls your frozen base into a smooth, creamy dessert. Once the cycle is done, check the texture—it should be soft and scoopable.
Step 4: Fix the Texture (If Needed)
Sometimes, the texture might turn out a bit crumbly after the first spin. Don’t panic—this is normal and easy to fix. Simply add a tablespoon of milk to the center of the mixture and use the “Re-Spin” function on the Ninja Creami. This function smooths everything out, bringing the ice cream to the perfect consistency. You might need to repeat this process once or twice, but the result will be worth it: creamy, dreamy banana ice cream that’s ready to enjoy.
Make It Your Own
This recipe is great as-is, but here’s how you can customize it:
For a Healthier Twist
- Skip the sweet cream creamer and use unsweetened almond milk plus a pinch of cinnamon.
- Add stevia or monk fruit sweetener instead of sugar.
For Fun Flavors
- Mix in cocoa powder for a chocolate twist.
- Swirl in peanut butter after processing.
- Add crushed nuts or chocolate chips for texture.
Serving & Storing
How to Serve
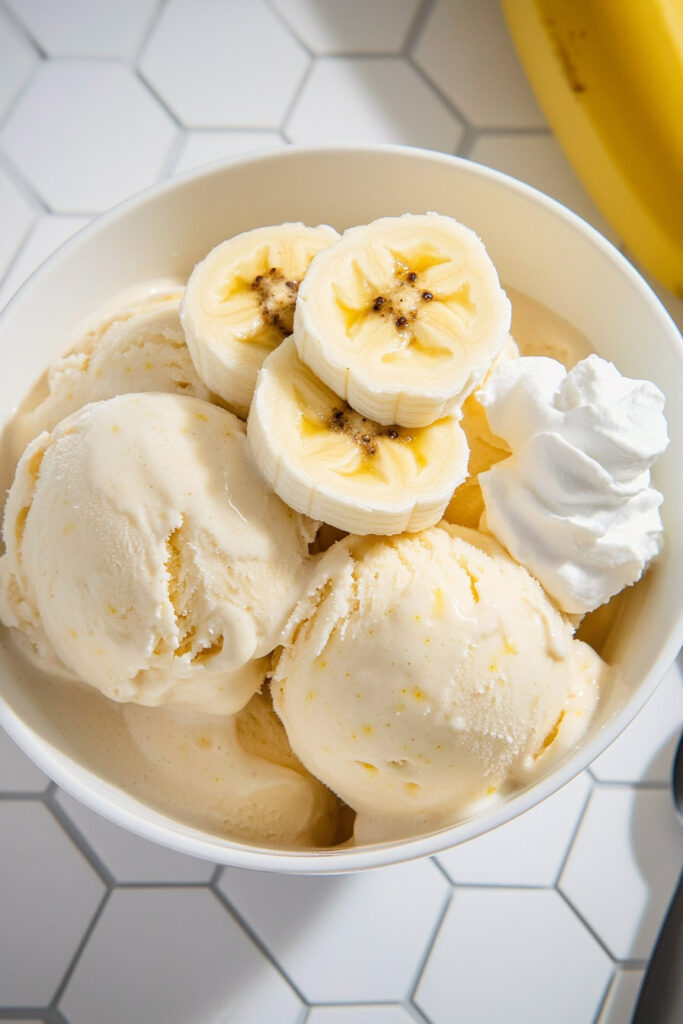
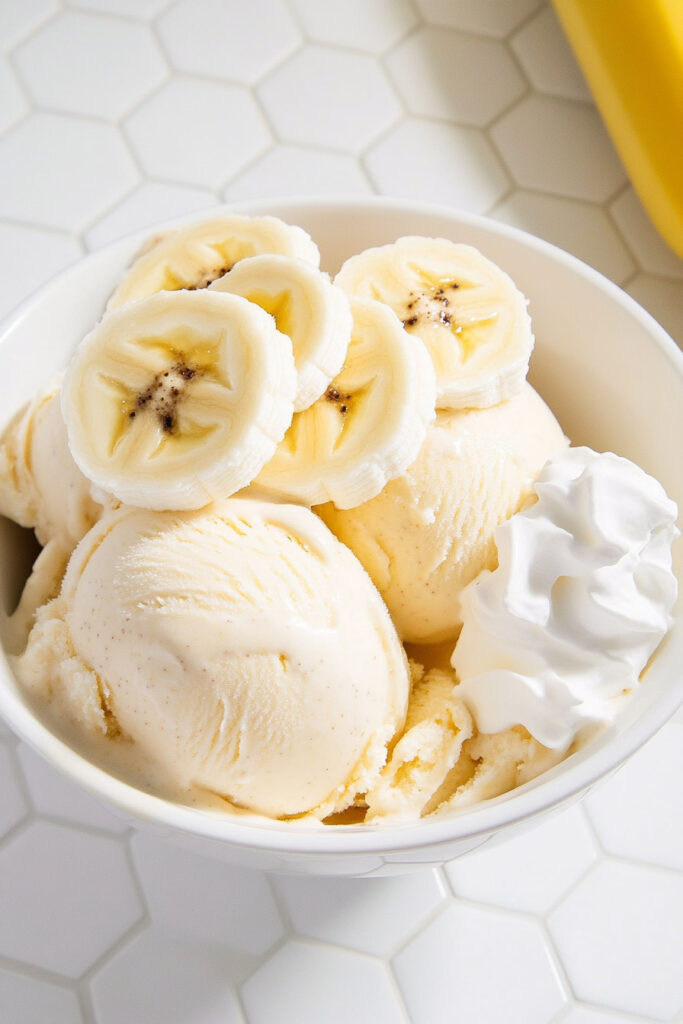
Scoop it into bowls, waffle cones, or even a fancy parfait glass. Want to jazz it up? Try these toppings:
- Banana slices
- Chocolate chips
- A drizzle of caramel or peanut butter
- Whipped cream and a sprinkle of cinnamon
How to Store
Leftovers (if there are any) can go straight back into the pint container. Freeze for up to a week. Pro Tip: Let it sit out for 5–10 minutes to soften before digging in, or run it through the Ninja Creami again.
Homemade ice cream doesn’t get much easier—or tastier—than this. Whether you stick to the basics or get creative with add-ins, this Banana Sweet Cream Ice Cream will be a hit. So grab those ripe bananas and start freezing! The hardest part? Waiting for it to be ready.
PrintNinja Creami Banana Sweet Cream Ice Cream
A creamy, naturally sweet banana ice cream made with simple ingredients and churned to perfection in the Ninja Creami. This easy dessert is perfect for satisfying your sweet tooth with minimal effort!
- Prep Time: 5 minutes
- Cook Time: None
- Total Time: 24 hours 5 minutes (Freeze Time: 24 hours)
- Yield: 2–3 1x
- Category: Dessert
- Cuisine: American
Ingredients
- 2–3 ripe bananas, cut into chunks
- ½ cup whole milk
- ½ cup sweet cream-flavored coffee creamer
- 1 teaspoon vanilla bean paste
- Optional: 1 tablespoon milk (for re-spin, if needed)
Instructions
- Blend the Base: Combine bananas, milk, coffee creamer, and vanilla bean paste in a blender. Blend briefly until smooth and creamy. Avoid over-blending.
- Freeze: Pour the mixture into a Ninja Creami pint container, ensuring it doesn’t exceed the max fill line. Smooth the surface, cover with the lid, and freeze on a flat surface for 24 hours.
- Process: After freezing, remove the lid and place the pint into the Ninja Creami outer bowl. Lock it into the machine and select the “Ice Cream” function. Let it churn until smooth.
- Adjust Texture (if needed): If the ice cream appears crumbly or dry, add 1 tablespoon of milk to the center and use the “Re-spin” function until creamy. Repeat if necessary.
- Serve & Enjoy: Scoop into bowls or cones and enjoy immediately!
Notes
Serving Suggestions:
- Top with banana slices, chocolate chips, or a drizzle of caramel for extra indulgence.
Tips & Tricks:
- Use very ripe bananas for natural sweetness.
- Freeze on a level surface to ensure even consistency.
- Re-spin as needed to achieve your desired texture.
Storage & Reheating:
- Store leftovers in the Ninja Creami pint container with the lid secured for up to one week in the freezer.
- To serve again, let it sit at room temperature for 5–10 minutes or re-spin in the Ninja Creami to restore creaminess.


