

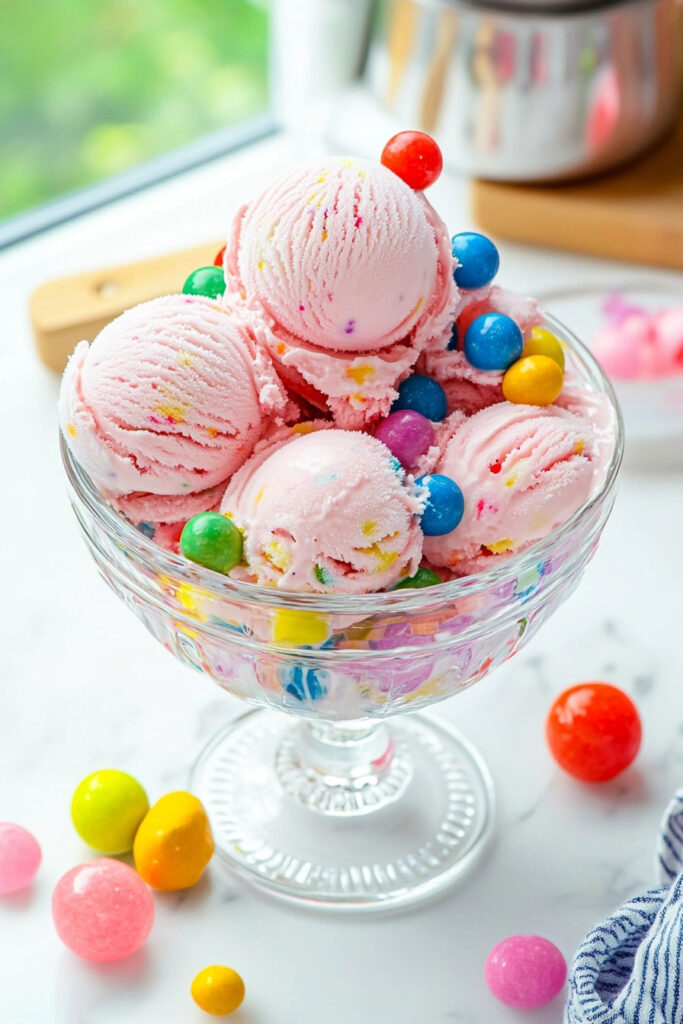
Making bubblegum ice cream at home is a fun way to relive childhood memories. This colorful treat, with its eye-catching pink color and sweet taste, will remind you of those sunny days at the ice cream shop. Did you know that bubblegum was invented in 1928 by Walter Diemer? He worked at the Fleer Chewing Gum Company. His invention not only became a popular candy but also inspired desserts like our favorite bubblegum ice cream. This recipe combines creamy goodness with the playful taste of bubblegum, making it perfect for birthdays, celebrations, or just a sweet treat on any day.
Quick Recipe Overview
Prep and Cook Time:
- Preparation Time: 15 minutes
- Chilling/Freezing Time: 4 hours
- Total Time: About 4 hours and 35 minutes
Serving Size:
- This recipe serves about 6 people. Need more? Feel free to double the ingredients, but check that your ice cream maker can handle it.
Difficulty Level:
- No worries if you’re a beginner! This recipe is simple and doesn’t need a lot of fancy equipment, so anyone can make it.
What You’ll Need:
- Ice cream maker (You can also use a blender and freeze the mix in a container)
- Mixing bowls
- Whisk
- Measuring cups and spoons
- Shallow container or loaf pan for freezing
Ingredients
Let’s gather what you need to whip up this tasty bubblegum ice cream:
- 2 cups of heavy cream: This makes it rich and creamy.
- 1 cup of whole milk: It balances the creaminess and adds volume.
- 3/4 cup of sugar: Sweetens the mix; adjust if you want it sweeter.
- 2 teaspoons of bubblegum flavoring: This is the key ingredient for that classic taste.
- 1 teaspoon of vanilla extract: It enhances the flavor.
- 1/4 teaspoon of kosher salt: Balances the sweetness.
- Pink or red food coloring: For that fun pink color; add as much as you like.
- ½ cup of confetti sprinkles: They add a fun crunch.
- 1 cup of gumballs (for topping): These are a nostalgic touch.
Alternatives
- For a lighter version, you can swap heavy cream for half-and-half.
- If you want a dairy-free option, use coconut milk and almond milk instead.
- Can’t find bubblegum flavoring? Try blending in real bubblegum pieces!
Step-by-Step Instructions
Let’s make this together:
- Chill Your Equipment: Place your ice cream bowl in the freezer for at least 24 hours. This is important for achieving that perfect texture.
- Mix the Base: In a large bowl, mix the heavy cream, whole milk, sugar, bubblegum flavoring, vanilla extract, and salt. Whisk for about 2-3 minutes until the sugar dissolves completely. You shouldn’t feel any graininess.
- Add Color: Once smooth, add the food coloring drop by drop until you reach the pink shade you want. This part is fun—watch your mix turn bright pink!
- Churn It: Pour the mix into your chilled ice cream maker and churn according to the instructions (usually about 20-25 minutes). It’s ready when it’s thick like soft serve.
- Add Sprinkles: In the last two minutes of churning, toss in the confetti sprinkles for extra fun.
- Freeze to Firm Up: Transfer the churned ice cream to a shallow container or loaf pan. Add more sprinkles on top and cover tightly to prevent ice crystals from forming. Freeze for at least 4 hours until solid.
- Serving: Before serving, let the ice cream sit at room temperature for about 5 minutes. This makes scooping easier. Top with gumballs for that nostalgic vibe.
Common Mistakes to Avoid
- Don’t skip mixing well. If the sugar isn’t fully dissolved, your ice cream might be gritty.
- Make sure your bowl is cold—this stops ice from forming.
Pro Tips
- Use the best ingredients you can find for better flavor. Fresh heavy cream makes a big difference.
- If using real bubblegum instead of flavoring, blend it well so it integrates smoothly into the mix.
Customization Ideas
This recipe is super flexible! Here are some ways to mix things up:
- Dietary Needs: For gluten-free ice cream, check your ingredients. For vegan versions, use coconut or almond milk and plant-based cream.
- Flavor Variations: You can add mint or citrus zest for a fun twist.
- Special Touches: Drizzle chocolate sauce over the ice cream or mix in crushed cookies for something extra special.
- Seasonal Fun: Use holiday-themed sprinkles or toppings for festive occasions like Halloween or Valentine’s Day.
Serving and Storing Your Ice Cream
Now that your delicious creation is ready, here’s how to serve and store it:
Serving Suggestions: Scoop the ice cream into colorful bowls and top with more gumballs or sprinkles for a fun presentation. Pair it with whipped cream or chocolate syrup for an extra treat.
Best Pairings: Bubblegum ice cream goes great with fruit salads or cake slices at birthday parties. Just think of how much fun that would be!
Storage Tips: Keep any leftover ice cream in an airtight container in the freezer. Cover the top with plastic wrap to avoid freezer burn.
Make-Ahead Guidance: You can make this ice cream ahead of time! It lasts for up to two weeks in the freezer—just remember to seal it tightly to keep it fresh.
Making bubblegum ice cream at home is not only a tasty project but also a joyful way to revisit sweet memories. I hope you feel inspired to try it yourself and enjoy every scoop!