

There’s just something special about making ice cream at home. And guess what? You don’t need fancy equipment or a culinary degree to do it. This creamy no-churn chocolate ice cream is as easy as it gets—just a handful of simple ingredients and a little patience while it freezes.
Fun fact: Chocolate ice cream has been around since 1692 when a recipe was first published in Naples, Italy. But don’t worry, we’re keeping things way simpler than they did back then. Let me walk you through this delightful recipe step by step.
Quick Recipe Snapshot
- Active Prep Time: 5 minutes
- Freezing Time: 3 to 5 hours
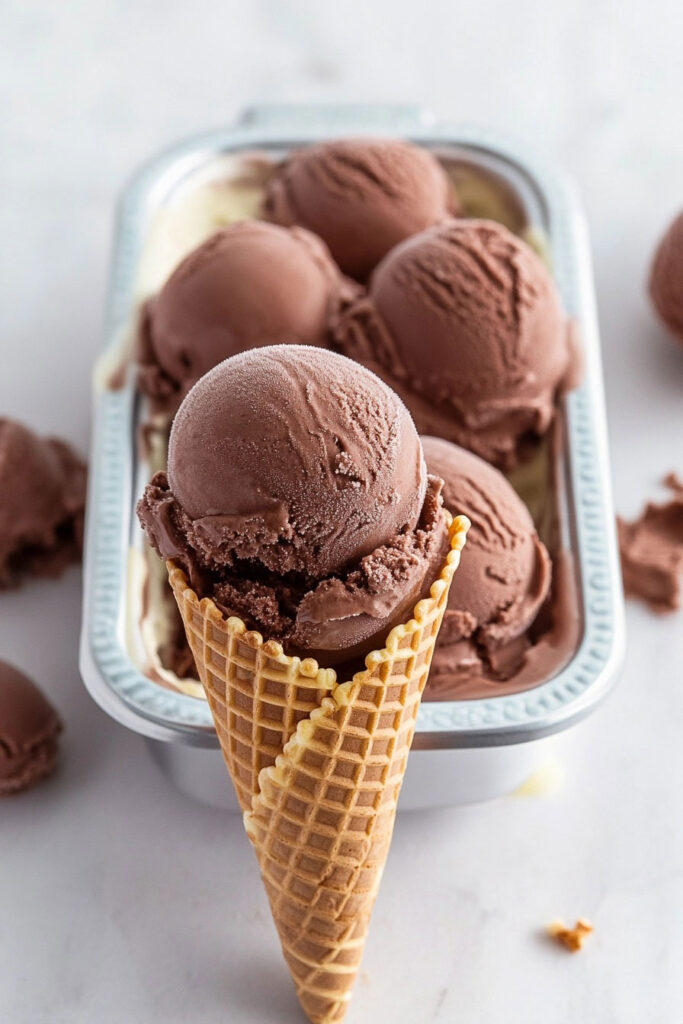
- Yields: About 12–14 scoops (perfect for sharing!)
- Skill Level: Beginner-friendly! If you can stir and whip cream, you’re golden.
- Tools Needed: A mixing bowl, a hand mixer (or whisk), and a freezer-safe container like a loaf pan.
What You’ll Need
Ingredients:
- 1 can (14 oz) sweetened condensed milk
- 1 tbsp vanilla extract
- ½ cup half-and-half
- ½ cup Dutch-processed cocoa powder
- 1½ cups heavy cream
Ingredient Notes & Swaps:
- No Dutch cocoa? Regular cocoa works, but your chocolate flavor might not be as rich.
- No half-and-half? Use whole milk or extra heavy cream.
- Watching your sugar? Try sugar-free condensed milk to cut back on sweetness.
Pro tip: Always use cold heavy cream for easier whipping—it’ll save you time and give a fluffier texture.
Step-by-Step Instructions
Let’s break this down into easy steps. Ready?
Step 1: Make the Chocolate Base
Grab a medium-sized bowl. Whisk together the condensed milk, vanilla, and half-and-half until smooth. Slowly add the cocoa powder while whisking to avoid lumps. The result? A thick, glossy chocolate mixture that smells heavenly.
Tip: Sifting the cocoa powder before adding it makes mixing a breeze.
Step 2: Whip the Cream
In a separate bowl, whip the heavy cream until stiff peaks form. This takes about 1–2 minutes with a hand mixer, but you can use a whisk if you’re up for an arm workout!
How to tell it’s ready? The cream should hold its shape when you lift the whisk. Just don’t overdo it, or you’ll end up with butter.
Step 3: Fold It All Together
Here’s the fun part. Add a third of the whipped cream to the chocolate base and gently fold it in until combined. Then, fold in the rest of the cream in two batches. Use light, sweeping motions to keep the mixture airy.
Pro Tip: Don’t rush it! Folding gently is key to getting that smooth, scoopable texture.
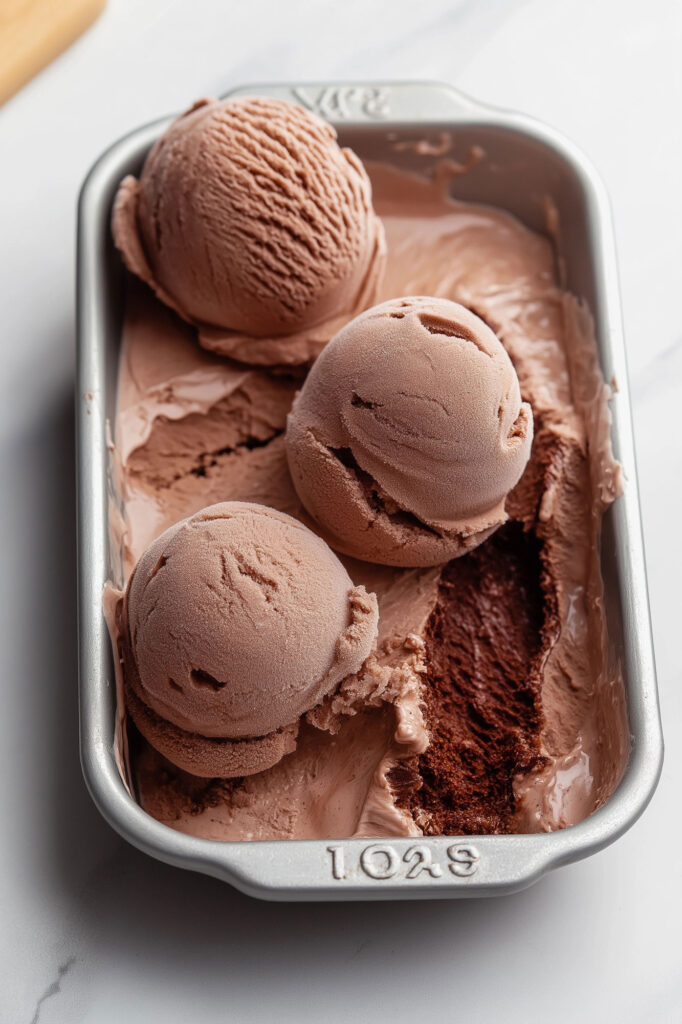
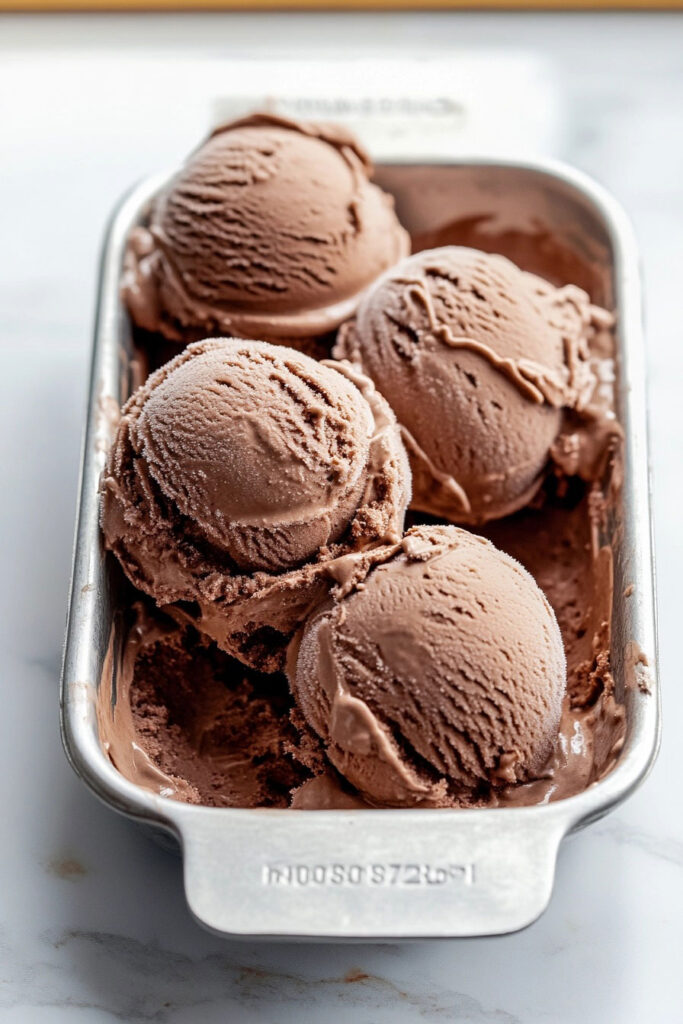
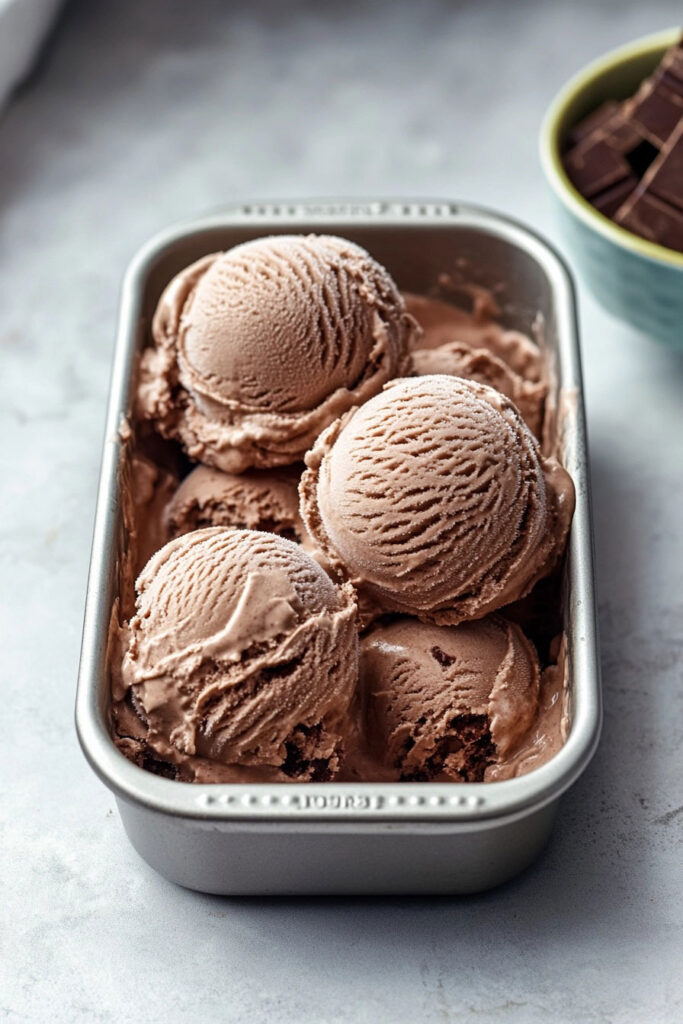
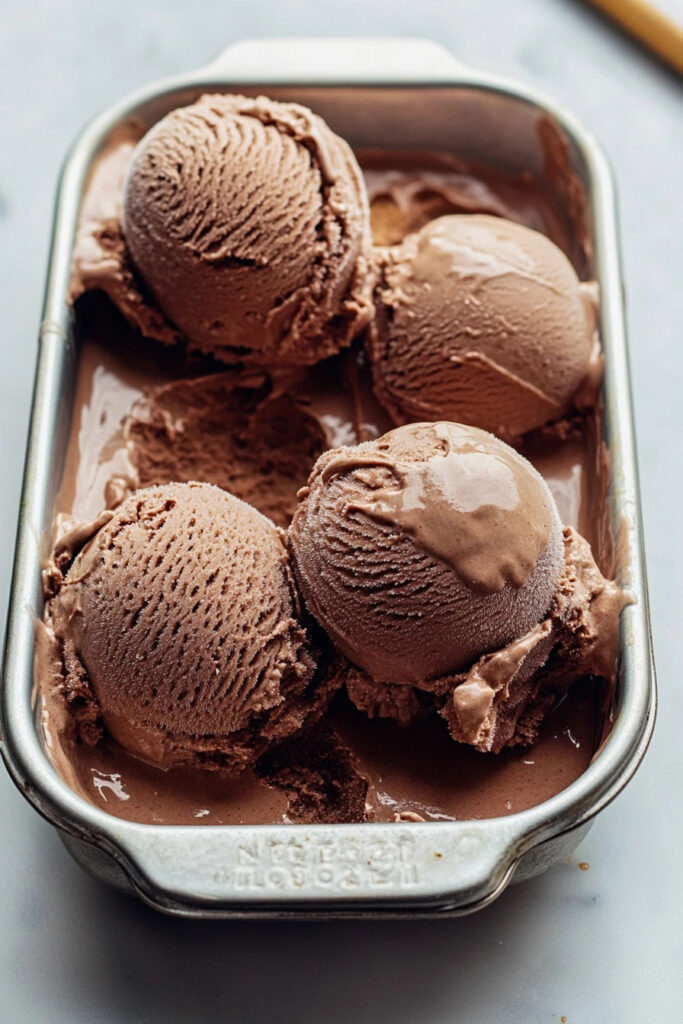
Step 4: Freeze
Pour the mixture into a freezer-safe container (a loaf pan works great). Smooth out the top and pop it in the freezer for at least 3 hours. Once it’s firm, it’s ready to scoop and enjoy.
Need a visual cue? The ice cream should feel firm but still scoop out easily.
Make It Your Own
Here’s where you can get creative:
- Flavor Upgrades: Add a pinch of espresso powder for a mocha kick. Or swirl in caramel, peanut butter, or crushed cookies before freezing.
- Dietary Tweaks: Make it vegan by swapping heavy cream for coconut cream and using sweetened condensed coconut milk.
- Seasonal Vibes: Top with fresh berries in summer or crushed peppermint candies in winter.
Tips for Serving & Storing
- How to Serve: Scoop into bowls or cones and add your favorite toppings—whipped cream, chocolate sauce, sprinkles, you name it.
- Storage Notes: Keep leftovers (if there are any!) in an airtight container in the freezer for up to a month. Press a layer of plastic wrap on the surface to prevent ice crystals.
- For Easy Scooping: Let the ice cream sit at room temp for 5–10 minutes if it’s too hard. Or dip your scoop in hot water first.
And that’s it! In just a few easy steps, you’ve made a rich, creamy chocolate ice cream that’s sure to impress. Whether it’s for a fun dessert night or just a sweet treat for yourself, this recipe is a winner. Now go grab a spoon and enjoy every bite!