

Picture this: a creamy, dreamy scoop of vanilla ice cream made right in your kitchen—without an ice cream maker. Sounds pretty amazing, right? This no-churn recipe is simple to whip up, doesn’t require fancy gadgets, and tastes like something straight out of an old-fashioned ice cream parlor.
The secret? A little magic from sweetened condensed milk, fluffy whipped cream, and real vanilla extract. Whether you’re new to making ice cream or just looking for an easy treat, this recipe is a winner. Ready to get started? Let’s dive in.

Quick Recipe Breakdown
What You Need to Know
- Prep Time: 15 minutes
- Freezing Time: 4 hours (or overnight if you’ve got the patience!)
- Yields: About 10 servings (1 quart)
- Difficulty: Easy enough for beginners.
Tools You’ll Need
- A stand mixer or hand mixer (or, if you’re feeling strong, a whisk).
- A mixing bowl and spatula.
- A freezer-safe container (a loaf pan works great).
Ingredients (It’s a Short List!)
Here’s the beauty of this recipe: just three ingredients are all you need!
- 2 cups (480 ml) heavy cream, cold
- 14 ounces (395 g) sweetened condensed milk (regular or full-fat recommended)
- 1 tablespoon pure vanilla extract
Substitutions and Tips:
- Want a more gourmet vibe? Swap the vanilla extract for vanilla bean paste or the seeds from a vanilla pod.
- Trying to keep it light? Sugar-free sweetened condensed milk works too (but don’t use evaporated milk—it’s not sweetened enough).
The Step-by-Step: How to Make No-Churn Ice Cream
This is the fun part! You’ll be amazed at how easy it is to create your own ice cream.
Whip the Cream:
Grab a mixing bowl, pour in the cold heavy cream, and start whipping (medium-high speed if using a mixer). In about 2–3 minutes, you’ll see stiff peaks. How do you know it’s ready? Lift the whisk—if the cream holds its shape, you’re good to go. Pro Tip: Don’t overwhip! If it starts looking grainy, you’ve gone too far.
Mix the Base:
In another bowl, stir together the sweetened condensed milk and vanilla extract. This is your flavor-packed base.
Fold It Together:
Add half of the whipped cream to the condensed milk bowl. Using a spatula, gently fold (think light and smooth motions) until combined. Repeat with the other half. The goal? A fluffy, airy mixture.
Freeze It:
Pour the mixture into your freezer-safe container. Smooth the top, cover it tightly (plastic wrap works well), and pop it into the freezer for at least 4 hours.
Scoop & Enjoy:
When you’re ready to serve, let the ice cream sit out for 5–10 minutes to soften a bit. Then grab your scoop and dig in!

Customization Ideas
Here’s where you can have some fun:
- Mix-Ins: Stir in crushed cookies, chocolate chips, or swirls of caramel before freezing.
- Different Flavors: Add fresh fruit like strawberries, or swirl in hot fudge for a decadent twist.
- Spices: Looking for a cozy vibe? Sprinkle in a little cinnamon or nutmeg.
Pro Serving Tips
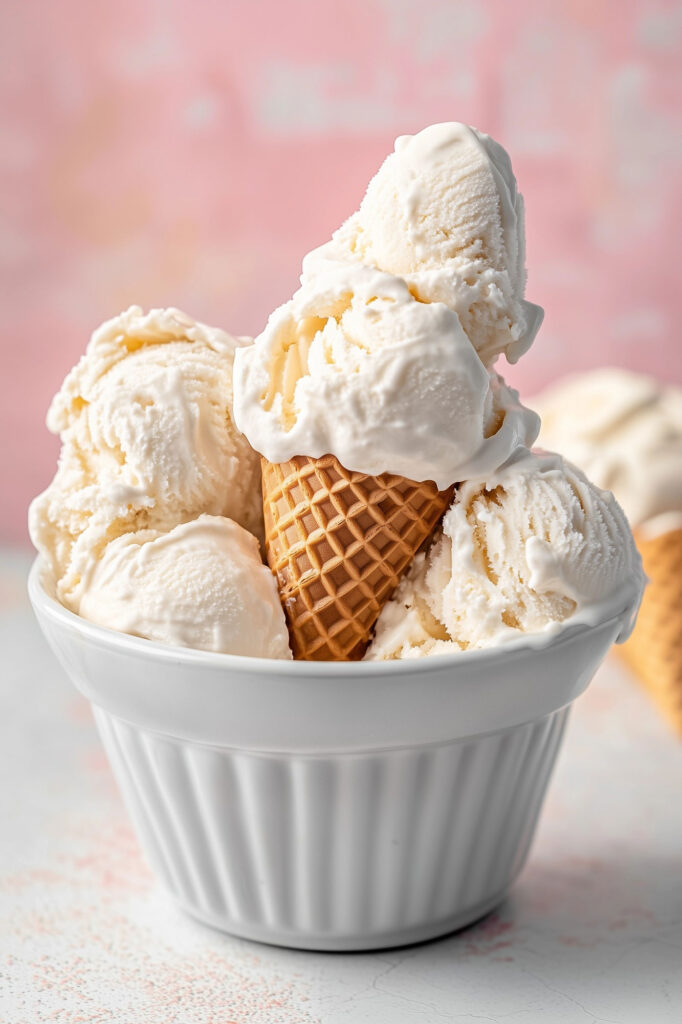
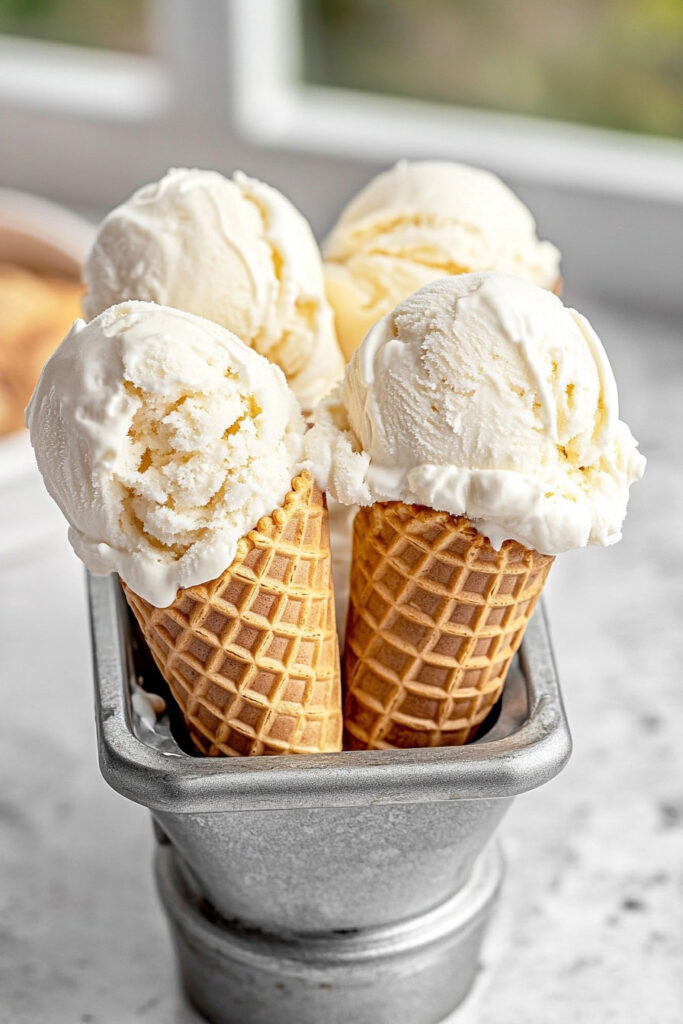
- Serve it in waffle cones for classic vibes.
- Pair it with warm brownies or apple pie for a next-level dessert.
- Hosting a party? Set up an ice cream sundae bar with toppings like sprinkles, nuts, and sauces.
Storing Leftovers (If You Have Any!)
Keep your ice cream in an airtight container in the freezer for up to two weeks. To avoid ice crystals, press plastic wrap onto the top of the ice cream before sealing the container.
Why This Recipe Works
This no-churn vanilla ice cream is proof that you don’t need fancy equipment to make something amazing. It’s creamy, sweet, and full of rich vanilla flavor. Plus, it’s endlessly customizable, meaning you can make it your own every time.
So, what are you waiting for? Go grab those ingredients and start making your own ice cream magic. Trust me—it’s worth the wait!