

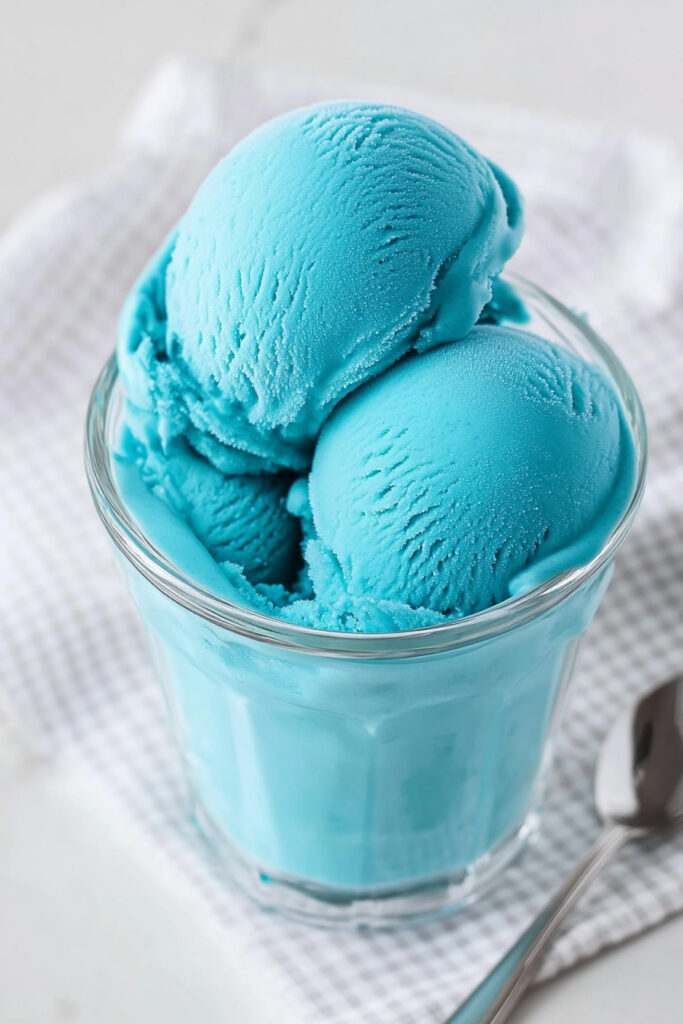
Let’s Talk About Blue Moon Ice Cream…
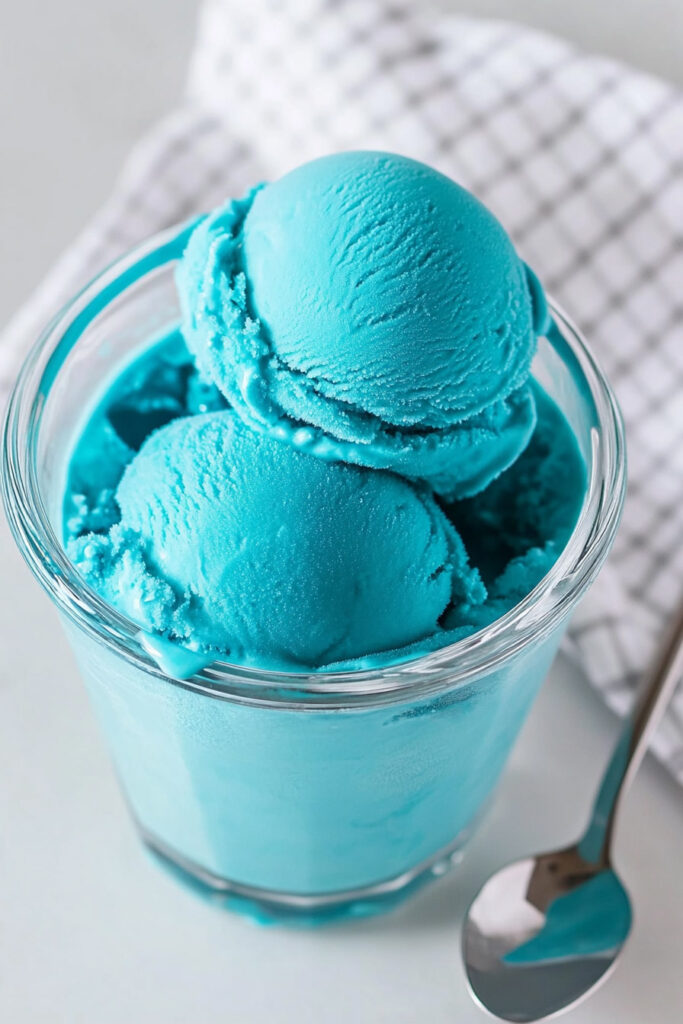
Ever heard of Blue Moon Ice Cream? It’s a dessert that’s as fun to look at as it is to eat. Bright blue, fruity, and full of mystery—it’s been a Midwestern favorite for generations. Some say it tastes like a mix of vanilla, lemon, and raspberry. Others? Well, they just say it tastes like magic.
If you’ve always wanted to try it, here’s your chance. And the best part? You don’t need a fancy ice cream shop. With the Ninja Creami, you can whip up this nostalgic treat right in your own kitchen. It’s easier than you think, and you get to control the ingredients! Let’s get started.
Quick Recipe Breakdown
Here’s a snapshot of what to expect:
- Prep Time: 10 minutes
- Freeze Time: 24 hours (minimum)
- Processing: 5 minutes
- Total Time: About a day’s wait—but worth it!
- Servings: 4 (½ cup each)
What you’ll need:
- A Ninja Creami machine and pint container (comes with the machine).
- A whisk or fork.
- A mixing bowl (or large measuring cup).
Good news: This recipe is beginner-friendly. The Ninja Creami does the heavy lifting for you!
What’s In It?
Ingredients:
- 1½ cups whole milk (for creaminess)
- 4 tablespoons vanilla pudding mix (adds sweetness and texture)
- ½ cup heavy cream (makes it rich!)
- 1 teaspoon raspberry extract (that fruity kick)
- ½ teaspoon lemon extract (brightens the flavor)
- 15–20 drops blue food coloring (or as much as you like)
Substitutions:
- Dairy-free? Use almond or oat milk and swap coconut cream for heavy cream.
- No raspberry extract? Try strawberry extract—or skip it for a milder flavor.
- Food coloring: Gel works too. Go easy; a little goes a long way.
Pro tip: Use high-quality extracts. It makes a difference! Can’t find raspberry extract in stores? Try shopping online.
How to Make It
Now for the fun part—bringing this dreamy ice cream to life! Start by preparing the ice cream base. Grab a mixing bowl or a large measuring cup and whisk together the milk and vanilla pudding mix until it’s completely smooth. This step is key to achieving that silky, creamy texture in your final product. Make sure there are no lumps!
Next, it’s time to add the flavor and color. Stir in the heavy cream, raspberry extract, and lemon extract to give the base its signature fruity, citrusy notes. To get that bold blue color, add your food coloring gradually, a few drops at a time, until the mixture reaches your desired shade. Think summer skies or something as vibrant as a clear ocean.
Once the mixture is ready, pour it into your Ninja Creami pint container, being careful not to exceed the max fill line. Place the lid on securely and set it on a flat surface in your freezer. Now comes the hardest part—waiting. Let the mixture freeze solid for at least 24 hours. This step ensures that it’s ready for the magic of the Ninja Creami.
After a day of freezing, take the pint out, remove the lid, and lock it into your Ninja Creami machine. Select the “Ice Cream” function and let the machine do its thing. You’ll hear it spinning and mixing, transforming your frozen base into a creamy, luscious treat. If the texture isn’t quite right on the first go—maybe it seems a bit crumbly or powdery—don’t panic. Just hit the “Re-spin” button. For particularly stubborn batches, you can add a tablespoon of milk to the center of the pint before re-spinning.
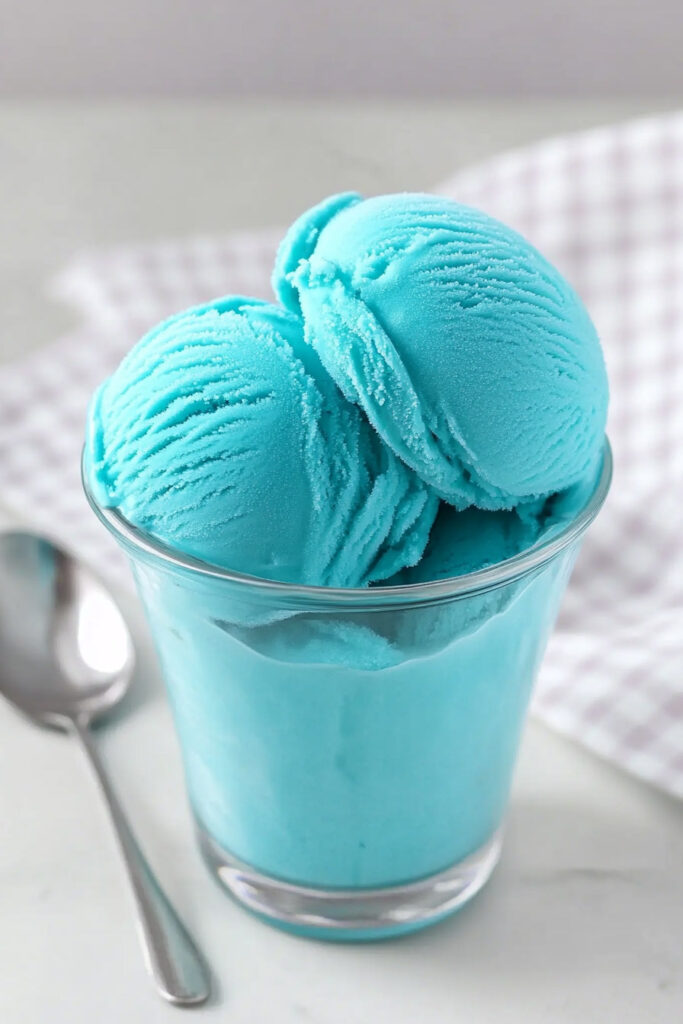
Finally, scoop out your freshly churned Blue Moon Ice Cream into bowls or cones. The consistency should be rich and velvety, with the fruity flavors shining through in every bite. Whether you enjoy it plain, with sprinkles, or alongside your favorite dessert, this homemade creation is bound to impress.
Make It Your Own
Custom Ideas:
- Vegan twist: Swap in plant-based ingredients like coconut cream and almond milk.
- Low-calorie version: Use skim or unsweetened almond milk and sugar-free pudding mix.
- Fancy toppings: Think edible glitter or a drizzle of white chocolate.
Pairings:
- On a hot summer day? Serve it with fresh berries or a fruit salad.
- In winter? Pair with warm brownies for a delicious contrast.
Feeling adventurous? Try adding a pinch of nutmeg or cinnamon to the base for extra depth.
Storing Leftovers
If you have any ice cream left (unlikely!), here’s how to store it:
- Keep it in the Ninja Creami pint, tightly sealed. It’ll stay fresh for up to a week.
- If it hardens too much, let it sit at room temp for 5–10 minutes before re-spinning.
The Takeaway
Blue Moon Ice Cream isn’t just a dessert—it’s a burst of nostalgia in every bite. Whether you’re recreating childhood memories or tasting it for the first time, this recipe is a guaranteed crowd-pleaser. Plus, with the Ninja Creami, it’s so easy to make. Whip up a batch, add your favorite toppings, and enjoy a little scoop of happiness.
What are you waiting for? Try it out and let the magic happen!
PrintNinja Creami Blue Moon Ice Cream
This vibrant and whimsical Blue Moon Ice Cream is a nostalgic Midwestern treat with fruity, citrusy flavors and a creamy texture. Made effortlessly with the Ninja Creami, it’s perfect for summer days or anytime you want a fun dessert!
- Prep Time: 10 minutes
- Cook Time: None
- Total Time: 24 hours 10 minutes (includes freezing)
- Yield: 4 (½ cup each) 1x
- Category: Dessert
- Cuisine: American
Ingredients
- 1½ cups milk (whole milk recommended)
- 4 tablespoons instant vanilla pudding mix
- ½ cup heavy cream
- 1 teaspoon red raspberry extract
- ½ teaspoon lemon extract
- 15–20 drops blue food coloring (or to preference)
Instructions
- Mix the Base: In a mixing bowl, whisk together the milk and pudding mix until smooth and lump-free. Stir in the heavy cream, raspberry extract, and lemon extract. Add blue food coloring a few drops at a time, stirring until you reach your desired shade.
- Freeze: Pour the mixture into a Ninja Creami pint container, ensuring it doesn’t exceed the max fill line. Cover tightly and freeze on a flat surface for at least 24 hours.
- Process: Remove the frozen pint from the freezer and place it in the Ninja Creami outer bowl. Secure the lid and lock it into the machine. Press the “Ice Cream” button to process.
- Adjust Texture: If the ice cream appears crumbly or powdery, press “Re-spin.” For extra creaminess, add 1 tablespoon of milk to the center and re-spin again if needed.
- Serve: Scoop into bowls or cones and enjoy immediately!
Notes
Serving Suggestions:
- Top with whipped cream, sprinkles, or Fruity Pebbles for added fun!
Tips & Tricks:
- Use high-quality extracts for authentic flavor. Raspberry extract can be substituted with strawberry extract if unavailable.
- For dairy-free options, substitute almond or oat milk for regular milk and canned coconut cream for heavy cream.
Storage & Reheating:
- Store leftovers in the pint container with the lid tightly secured for up to one week in the freezer.
- To restore creaminess after storage, let it sit at room temperature for 5–10 minutes before re-spinning in the Ninja Creami.